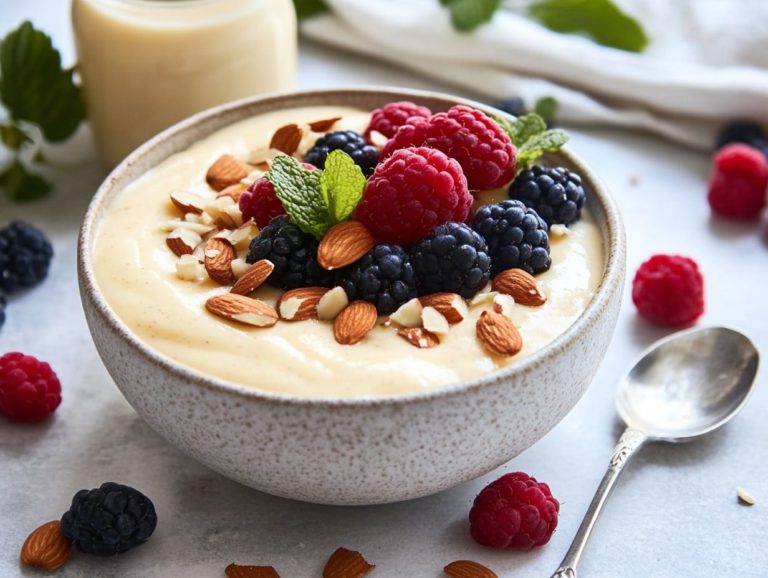
How to Store Homemade Puddings
Storing your homemade puddings isn t merely a matter of extending their shelf life; it s about preserving that delicious taste and creamy texture for your future enjoyment. Let s explore how mastering the art of proper storage can elevate your cooking experience to new heights, whether you ve crafted a classic chocolate pudding or a luscious vanilla custard.
This guide delves into the finest methods for refrigeration and freezing, detailing how long you can keep your creations and recommending the ideal containers to maintain their quality.
You ll also find handy tips for reheating and ensuring your puddings remain fresh and delightful. Immerse yourself in these secrets to keep your homemade treats at their absolute best!
Contents
- Key Takeaways:
- Why Store Homemade Puddings?
- How to Store Homemade Puddings?
- How Long Can Homemade Puddings Be Stored?
- What Are the Best Containers for Storing Homemade Puddings?
- 1. Glass Jars
- 2. Plastic Containers
- 3. Mason Jars
- How to Reheat Stored Homemade Puddings?
- What Are Some Tips for Storing Homemade Puddings?
- 4. Keep Away from Direct Sunlight
- Frequently Asked Questions
- 1. How do I keep my homemade puddings fresh?
- 2. Can I freeze homemade puddings?
- 3. What is the best way to reheat homemade puddings?
- 4. Can I store homemade puddings at room temperature?
- 5. How long can I keep homemade puddings in the refrigerator?
- 6. Can I store different types of homemade puddings together in the same container?
Key Takeaways:
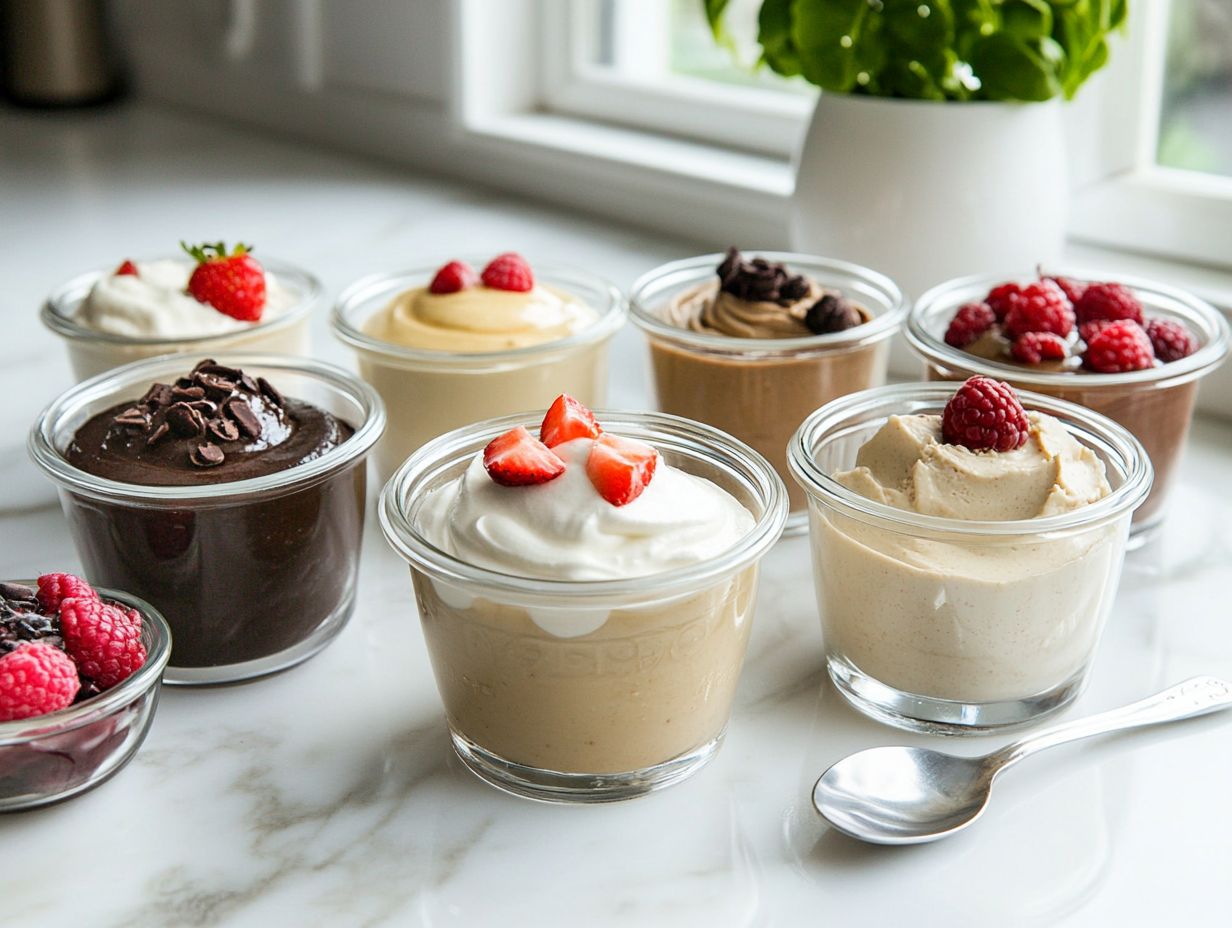
- Proper storage of homemade puddings ensures their freshness and longevity.
- Refrigeration and freezing are the best methods for storing homemade puddings.
- Homemade puddings can be stored in the fridge for up to 4 days and in the freezer for up to 3 months.
Why Store Homemade Puddings?
Storing your homemade puddings, like Christmas pudding and other festive delights, is vital for maintaining their rich flavor, velvety texture, and overall quality. Proper storage prevents spoilage and enhances the taste, allowing you to savor these delectable desserts long after you’ve made them.
Whether you re following a Nigella recipe or creating your own, mastering the art of storing these steaming puddings is essential, especially in warm climates where they can spoil more quickly. Exploring various recipe tips will keep your puddings irresistibly delicious for every festive occasion.
How to Store Homemade Puddings?
To guarantee the longevity and quality of your homemade puddings, it s vital to master the best storage techniques, whether you’re dealing with fresh creations straight from the oven or uncooked batter ready to be transformed.
Properly storing desserts like pudding demands careful thought regarding both temperature and the type of container used. For example, promptly refrigerating your pudding after cooking is paramount. Opting for an airtight container or meticulously wrapping the pudding ensures it remains shielded from unwanted odors and moisture, preserving its delightful flavor and texture for your enjoyment.
1. Refrigeration
Refrigeration plays a crucial role in preserving the freshness of your homemade puddings, especially when made with rich ingredients like butter, sugar, and milk. Prompt refrigeration is essential to prevent spoilage, particularly in warm environments where bacteria can flourish. By storing your delightful desserts in the fridge, you not only keep them safe to eat but also ensure they maintain their optimal flavor and texture.
For your homemade puddings, aim to keep the refrigerator temperature between 32 F and 40 F (0 C to 4 C). When properly cooled, puddings can typically last about three to five days. However, in warmer settings like during sweltering summer months or in kitchens without air conditioning it s crucial to limit exposure to higher temperatures.
Utilizing airtight containers will help you extend freshness while avoiding cross-contamination. Improper storage can lead to the unwelcome growth of harmful bacteria, resulting in foodborne illnesses. To reduce these risks, always allow your puddings to cool before placing them in the refrigerator, and consume them within the recommended timeframes to ensure both safety and enjoyment.
Try these storage techniques today and share your experiences with us!
Freezing Homemade Puddings
Freezing is a brilliant strategy for extending the life of your homemade puddings, particularly when you’re looking to prepare in advance or transport those delightful desserts for special occasions. When you decide to freeze pudding, it s crucial to ensure that it has cooled properly. Store it in a cool, dark place to avoid freezer burn, which occurs when food loses moisture and develops ice crystals, affecting taste and texture. Using the right containers, such as tightly sealed plastic containers or glass jars, will help maintain the pudding’s quality and integrity.
Begin with a well-prepared pudding; allow it to cool completely at room temperature before transferring it to the freezer. This step is vital as it significantly reduces the risk of condensation forming inside the container. Condensation can create ice crystals and disrupt that desirable creamy texture.
When selecting your containers, choose ones that are not only leak-proof but also designed for liquids. For thawing, gently move the frozen pudding to the fridge for several hours or overnight. This slow defrosting process ensures that the pudding retains its rich and luscious qualities, offering you a delightful treat once again.
How Long Can Homemade Puddings Be Stored?
Grasping the storage lifespan of your homemade puddings is essential for both food safety and preserving their exquisite flavors. When kept in the refrigerator, your puddings typically remain fresh for about a week.
If you choose to freeze them, they can maintain their delightful quality for several months. Familiarizing yourself with these timelines allows you to savor your delectable creations at the optimal moment while helping you reduce waste effectively.
Refrigerated Puddings
Refrigerated puddings can be stored for up to a week if you keep them in an airtight container, preventing any unwanted cross-contamination or moisture absorption. It’s wise to label and date each container, allowing you to enjoy your delectable puddings while they’re still fresh and bursting with flavor.
To ensure optimal freshness, store these delightful treats at a consistent temperature of 40 F (4 C) or lower, ideally nestled in the coolest part of your refrigerator. When it comes time to serve, consider enhancing their appeal with toppings like whipped cream, fresh fruit, or a sprinkling of nuts these additions can elevate the experience.
Always pay attention to the best-before date as your guide for consumption; indulging within this timeframe guarantees a delightful taste experience. Plus, keeping your refrigerator organized and rotating older containers to the front can help reduce waste and maximize your enjoyment of these sweet treats.
Frozen Puddings
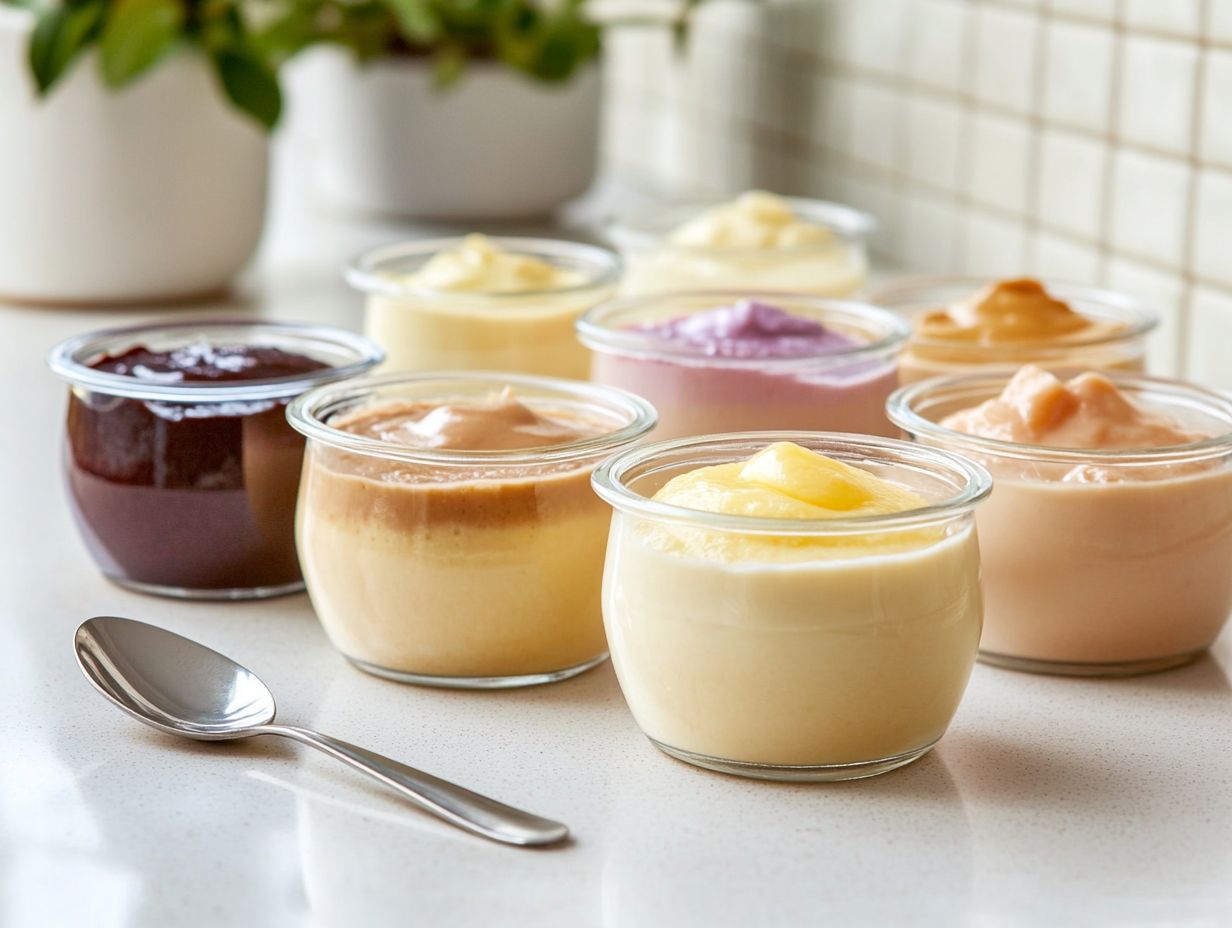
Frozen puddings can maintain their delightful taste and texture for up to three months when stored properly in a cool, dark place. Use freezer-safe containers to keep your puddings tasting great, and avoid the pitfalls of frequent thawing and refreezing, which can compromise the dessert s integrity.
Opt for airtight containers to fend off freezer burn, as this can negatively impact the flavor and consistency of your pudding. It’s also crucial to keep your freezer at a consistent temperature of 0 F (-18 C) or lower; any fluctuations can lead to the formation of pesky ice crystals.
When transporting these delicious treats, consider using insulated carriers or coolers along with ice packs to guarantee they stay frozen until they arrive at their destination. This extra care makes enjoying frozen puddings even more delightful!
What Are the Best Containers for Storing Homemade Puddings?
Selecting the perfect containers for your homemade puddings is crucial for preserving their delightful flavor and velvety texture. You have a range of options at your disposal, from elegant glass jars to practical plastic containers and classic mason jars.
Opt for airtight containers, as they effectively shield your pudding from air exposure and moisture, keeping it fresh for an extended period. Carefully consider the size and material of your chosen containers to enhance the success of your pudding storage, ensuring each spoonful is as indulgent as the first.
1. Glass Jars
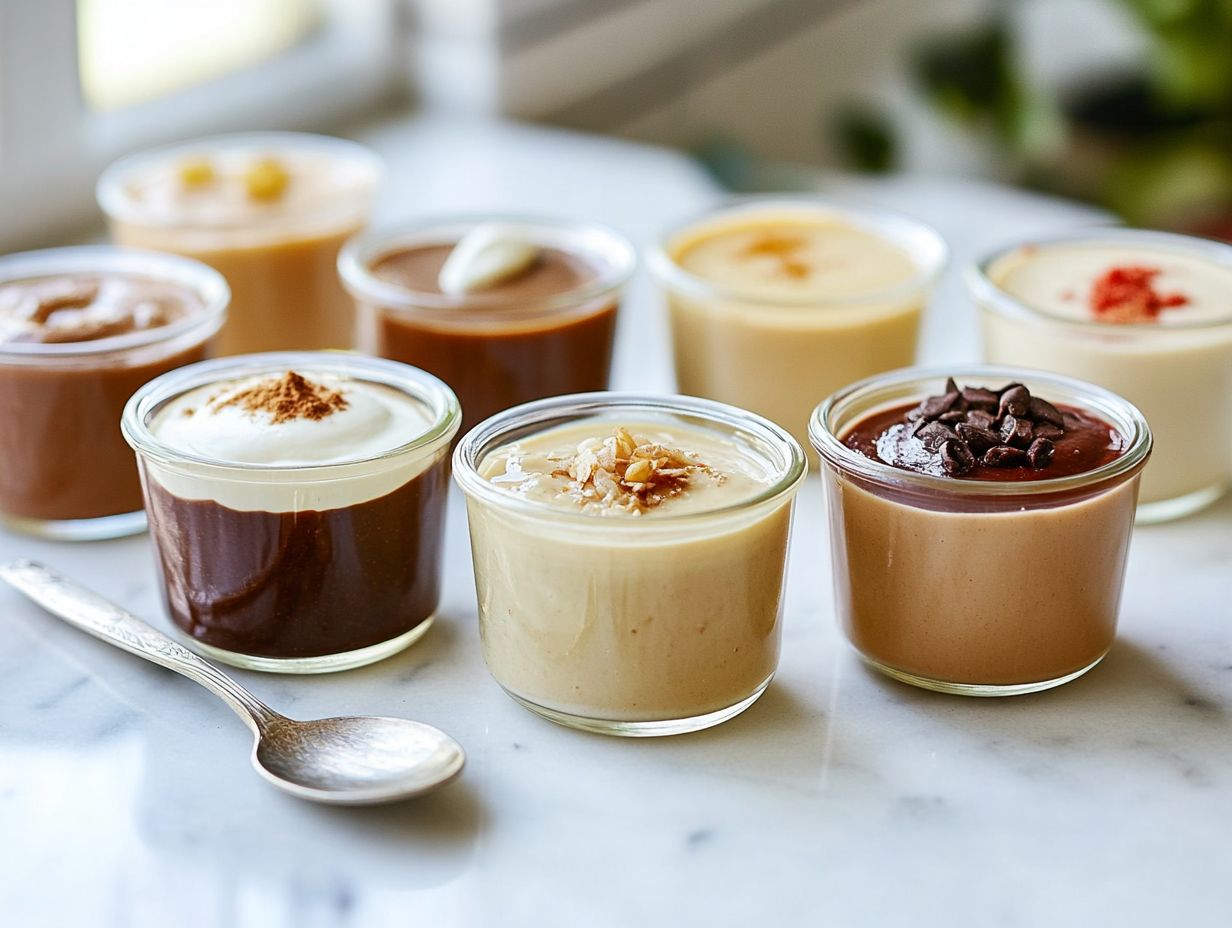
Glass jars are a fantastic choice for storing your homemade puddings. Their airtight seals protect the ingredients from air and moisture, ensuring that the flavors and textures remain impeccable.
Plus, being non-reactive means you don t have to worry about any unpleasant chemicals getting into your food, affecting the taste of your delightful creations. Beyond these advantages, glass jars offer impressive durability, making them less susceptible to breakage than some plastic alternatives.
Their transparency allows you to admire the beautiful layers of your pudding, turning storage into a presentation opportunity. To achieve the best results, choose jars that are perfectly sized for your portions to minimize excess air exposure.
Opt for airtight lids to maximize freshness. Don t forget to store your jars in a cool, dark place to extend the pudding’s shelf life. Selecting jars with wide mouths also makes serving and cleaning a breeze, ensuring that enjoying your delicious puddings is as effortless as possible.
2. Plastic Containers
Plastic containers present a lightweight and versatile solution for storing your homemade puddings. They are especially useful when you’re on the lookout for an airtight option that s easy to handle and transport.
With a range of sizes available, these containers cater to everything from individual servings to larger batches of pudding. One of the standout advantages of using plastic containers is their convenience.
They re typically designed to fit snugly in your refrigerator, maximizing your space while keeping your desserts fresh. Their portability also makes them perfect for bringing delectable treats to gatherings or picnics, making it easy to transport desserts.
However, consider potential drawbacks, such as concerns about durability, especially when stacking or exposing them to extreme temperatures. Some plastics may warp or crack over time. There is also the risk of chemicals getting into your food, particularly if you re using containers that aren’t BPA-free or are subjected to high heat.
To ensure effective sealing and storage, opt for high-quality containers with secure lids. Remember to let your pudding cool completely before sealing to prevent any condensation build-up. Store in the fridge or a cool dark place.
3. Mason Jars
Mason jars present a charming and practical solution for storing your homemade puddings. They offer an airtight seal that preserves freshness while providing a visually appealing presentation, perfect for storing desserts.
These jars are perfect for transport, allowing you to share your delectable creations with friends and family without sacrificing quality. The aesthetic allure of mason jars introduces a rustic touch to any dessert table, transforming even the simplest pudding into something extraordinary.
You can unleash your creativity by layering flavors and toppings, crafting each jar into a delightful masterpiece that captures the eye. The transparency of the jars enables you to easily monitor the contents, ensuring that your dessert is enjoyed at its peak freshness.
When it s time to serve, a simple twist of the lid reveals your pudding, ready for indulgence! With a variety of sizes, mason jars accommodate portion control while being eco-friendly, supporting a sustainable lifestyle that you can feel good about.
Vanilla pudding looks appealing in mason jars!
How to Reheat Stored Homemade Puddings?
Reheating your stored homemade puddings can be a delightful experience when done correctly. You can choose from the microwave, stovetop, or oven, depending on your texture preference and convenience.
Each approach presents its own set of advantages. The microwave offers quick efficiency, while the gentle warmth of the oven restores your pudding to its original creamy glory. Knowing how to reheat your puddings properly ensures that you savor them at their very best after being stored.
1. Microwave
Reheating pudding in the microwave is your fastest ticket to enjoying that delectable dessert in mere minutes, especially if it’s frozen pudding. To achieve even heating, transfer the pudding to a microwave-safe dish. Consider adding a splash of milk; this simple trick helps restore its luscious creaminess as it warms up.
For the best results, dial down the power to about 50-70% and heat it in short bursts of 20-30 seconds, stirring in between to ensure even warming and avoid curdling. This method is particularly crucial for different types of pudding, such as chocolate or vanilla, which can have varying consistencies.
To prevent any unfortunate curdling or overheating, stay close to your pudding and pull it from the microwave as soon as you see a hint of steam. This is especially important for Christmas pudding. A gentle stir not only helps spread the warmth but also enhances the smoothness of your dessert, ensuring every spoonful remains just as delightful as the first. This is a key tip in recipe tips.
2. Stovetop
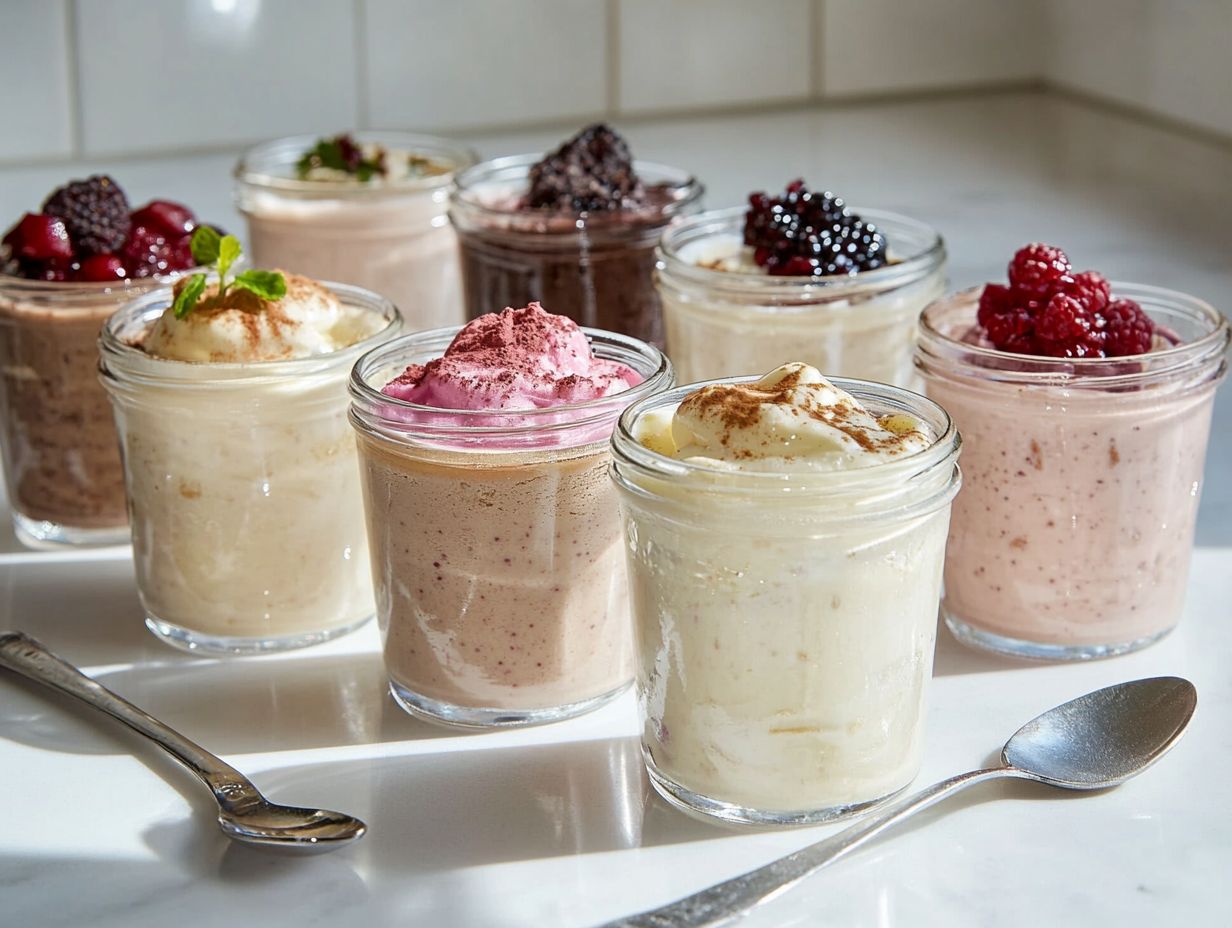
Reheating pudding on the stovetop gives you exceptional control over temperature, allowing your dessert to warm gently and evenly without the risk of scorching. By placing a saucepan over low heat, you can gradually bring the pudding to temperature while mixing in additional ingredients like cream or milk to restore its original texture. This method is recommended by The Allrecipes Test Kitchen.
This approach not only helps prevent unsightly lumps but also enhances the overall richness of the pudding s flavor. As the pudding warms up, slowly blend in the milk or cream, adding a silky smoothness that elevates the dessert s mouthfeel.
It s essential to stir continuously to ensure every part reaches the desired temperature and the added ingredients are seamlessly incorporated. This attentive process enhances your enjoyment of the pudding and refreshes its taste, making it feel like a freshly prepared treat.
Keep an eye on the consistency, and you’ll find that reheated pudding can be just as delightful as when it was first made, perfect for both homemade pudding and Christmas pudding.
3. Oven
Reheating your pudding in the oven is a brilliant choice for keeping that creamy texture intact, especially if you’re a fan of baked pudding recipes. Start by preheating your oven, then transfer the pudding to an oven-safe dish. Cover it with foil to lock in moisture and heat it until it’s warmed through, ensuring that each bite is a delightful experience.
For the best results, set your oven to around 350 F (175 C). This temperature is ideal if you are working with uncooked batter. It allows for even heat distribution, which is key to achieving the perfect warmth. Depending on the type of pudding, be it chocolate, vanilla, or bread pudding, cooking times will vary. Generally, 15 to 20 minutes should suffice for most puddings.
To keep your pudding moist, consider adding a splash of milk or cream before sealing the dish with foil, especially for steaming puddings. This addition creates steam, gently warming the pudding and retaining that luscious, velvety texture reminiscent of when it was freshly made. By following these straightforward tips, you can savor the rich flavors and textures of your pudding as if it had just come out of the oven, a method endorsed by Nigella and Allrecipes.
What Are Some Tips for Storing Homemade Puddings?
To maintain the quality of your delightful homemade puddings, start with fresh ingredients, as their quality is crucial. Don t forget to label and date your containers; this simple step helps you keep track of freshness effortlessly.
Consider portioning your puddings into smaller servings. This technique, often used in many Nigella recipes, makes transport and consumption easier while minimizing waste. With these tips, your delectable creations will be accessible whenever cravings strike!
1. Choose Fresh Ingredients
Ready to make a pudding that wows your taste buds? Start with fresh ingredients! Utilizing fresh ingredients is very important for the success of any homemade pudding recipe, as the quality of your components directly influences both flavor and texture.
By selecting high-quality butter, sugar, milk, cornstarch, and baking cocoa, you ensure that your dessert is delicious and enjoyable, making it truly worthy of savoring.
In terms of pudding, the freshness of these elements can elevate your creation from ordinary to extraordinary. Always start with a good pudding recipe. Take freshly churned cream, for instance; it can impart a luxurious mouthfeel, while organic eggs can enhance the richness of the flavor profile.
It’s essential to source your ingredients from local farmers’ markets or trusted suppliers who prioritize quality, such as those in Lancaster County. Seek out butter that feels firm yet slightly pliable, and sugar that remains free of clumps. Ensure that your dairy products are devoid of additives and preservatives to maintain their natural taste. Sourcing quality ingredients keeps your pudding pure.
By paying close attention to these details, you can craft a pudding that not only delights the palate but also provides a memorable culinary experience. This is a common approach in Nigella recipes.
2. Properly Label and Date Containers
Labeling and dating your containers is a fundamental practice when it comes to storing your homemade puddings, whether they are rhubarb sauce or traditional Christmas pudding. This simple step helps you manage freshness and reduce waste. By clearly marking the date of preparation, you can easily track how long your delightful pudding has been stored, ensuring you savor it while it s at its peak.
Proper labeling enhances food safety and plays a vital role in maintaining quality control. When you incorporate clear and concise labels in your kitchen, you significantly reduce the risk of consuming spoiled or unsafe food. To maximize effectiveness, ensure your labels are written in large, legible fonts and placed prominently.
Opt for waterproof markers or labels to avoid the frustration of smudges and fading over time. By establishing a consistent method for labeling, you can efficiently manage your food inventory and indulge in higher-quality homemade desserts, particularly useful for cupcake storage.
3. Store Pudding in Small Portions
Storing homemade pudding in small portions is a smart strategy that enhances convenience and makes transporting your desserts a breeze. By dividing larger batches into individual servings, you not only simplify the enjoyment of your pudding but also minimize the risk of spoilage, ensuring that each portion remains fresh and delicious.
This approach not only helps you reduce waste by discouraging overeating or the disposal of leftovers but also offers a quick and satisfying snack when cravings strike.
Opting for containers like small mason jars, silicone molds, or reusable snack cups can elevate your pudding experience, making it both visually appealing and practical, especially for cupcake storage or ice cream. These choices allow for creative presentations, whether you re prepping for a picnic, packing a lunchbox treat, or simply indulging at home.
Ultimately, this method of portion control transforms dessert storage into an organized and enjoyable endeavor, aligning beautifully with a more sustainable lifestyle. Whether it’s storing Christmas pudding, cupcakes, or cookies, the right approach can make a big difference.
4. Keep Away from Direct Sunlight
Keeping your homemade pudding stored away from direct sunlight is essential for preserving its quality and preventing spoilage. Light exposure can lead to undesirable changes in flavor and texture. Seek out a cool, dark place for optimal storage. This is crucial for keeping all types of pudding, from vanilla to festive Christmas flavors, tasting their best!
Temperature is also crucial for maintaining that delightful creamy consistency and freshness. Ideally, you should store your pudding in the fridge, where temperatures hover between 35 F and 40 F (1.6 C to 4.4 C). Whether dealing with homemade or frozen pudding, maintaining the right temperature is key.
When scouting for the best storage spots, place your pudding toward the back of the fridge, away from the door. The door area often experiences temperature fluctuations due to frequent openings, which can compromise your pudding’s integrity. Steaming puddings should especially be kept in consistent cool environments to avoid spoilage.
Utilizing airtight containers is another savvy move. These containers protect your pudding from moisture and odors, ensuring that your delectable dessert stays delightful for much longer. This tip is useful for all desserts, including ice cream and rhubarb sauce.
For more recipe tips, check out MandyNeat and Allrecipes Test Kitchen for expert advice on making desserts like Christmas pudding and rhubarb sauce.
Frequently Asked Questions
1. How do I keep my homemade puddings fresh?
Homemade puddings should be stored in an airtight container in the refrigerator. Following these pudding recipe tips will ensure freshness.
2. Can I freeze homemade puddings?
Yes, homemade puddings can be frozen for up to 3 months. Store them in an airtight container or wrap them tightly with plastic wrap before freezing. This is particularly important for pudding ingredients like cornstarch and milk.
3. What is the best way to reheat homemade puddings?
The best way to reheat homemade puddings is to place them in a saucepan over low heat, stirring constantly until warmed through. You can also reheat them in the microwave, stirring every 30 seconds to prevent uneven heating. Steaming puddings might require a different reheating technique.
4. Can I store homemade puddings at room temperature?
No, it is not recommended to store homemade puddings at room temperature as they contain dairy and can spoil quickly. Always store them in the refrigerator. This advice goes for other dairy-based desserts as well.
5. How long can I keep homemade puddings in the refrigerator?
Homemade puddings can be kept in the refrigerator for 3-4 days. Make sure to check for any signs of spoilage before eating or reheating. Nigella recipe tips recommend refrigerating pudding to maintain its quality.
6. Can I store different types of homemade puddings together in the same container?
It is not recommended to store different types of homemade puddings together, as their flavors and textures may mix and affect the taste. It is best to store them in separate containers. This is also a good practice for cupcake storage to avoid flavor mixing.
Don’t let your hard work go to waste store your pudding right away!

