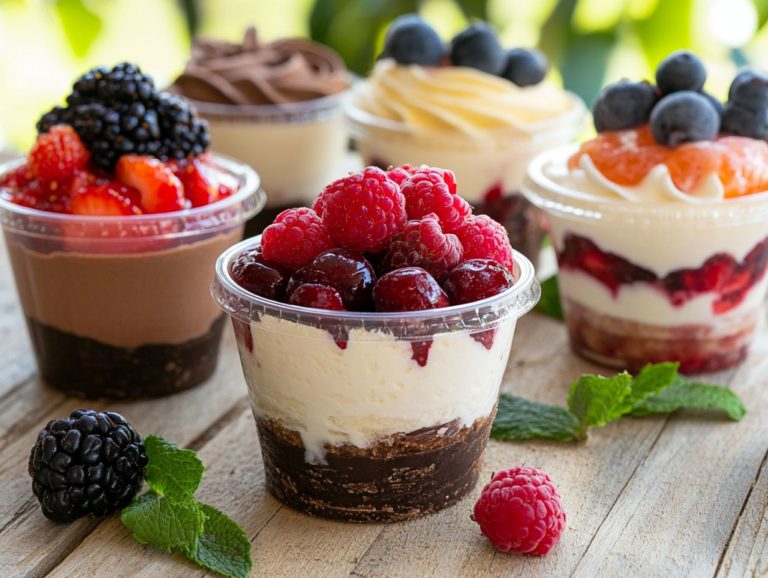
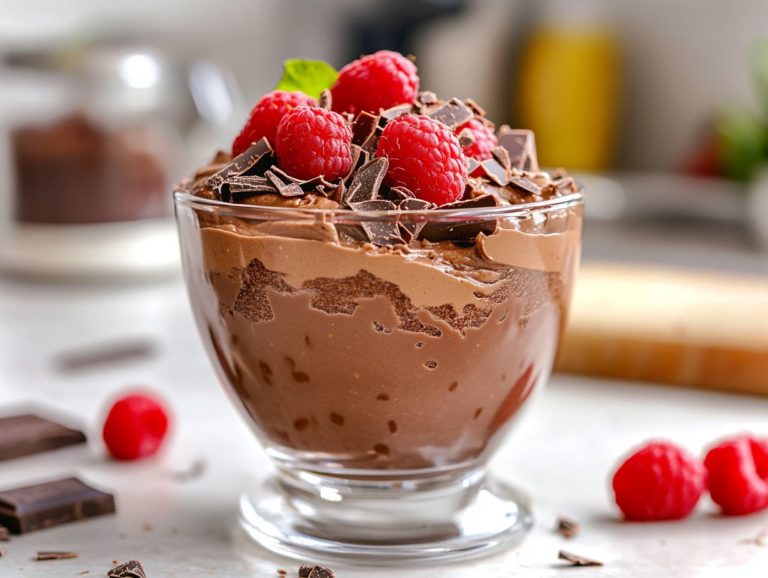
What Are the Best Practices for Dessert Photography?
In today s visually-driven world, exceptional photography is indispensable, particularly when it comes to desserts. Captivating images not only entice customers but also enhance sales and elevate social media engagement.
This guide provides you with essential tools and expert tips for capturing mouthwatering shots, effective editing techniques, and the most effective styling practices. Whether you re an aspiring baker or a seasoned pastry chef, discover how to elevate your desserts from the kitchen to the camera with striking visuals that leave a lasting impression. Learn how to play with props, focus on details, and edit your images to create a story around your sweet treats.
Contents
- Key Takeaways:
- The Importance of Good Photography for Desserts
- Essential Tools for Dessert Photography
- Camera and Lens Options
- Lighting Equipment
- Props and Styling Tools for Dessert Photography
- Tips for Capturing the Perfect Dessert Shot
- Tips for Captivating Dessert Photography
- Editing Techniques for Dessert Photography
- Best Practices for Styling Desserts
- Frequently Asked Questions
- What Are the Best Practices for Dessert Photography?
- Why is natural lighting important in dessert photography?
- How can I choose a background or setting for my dessert photography?
- What angles and perspectives should I experiment with in dessert photography?
- How can I use props in dessert photography?
- Why is editing important in dessert photography?
Key Takeaways:
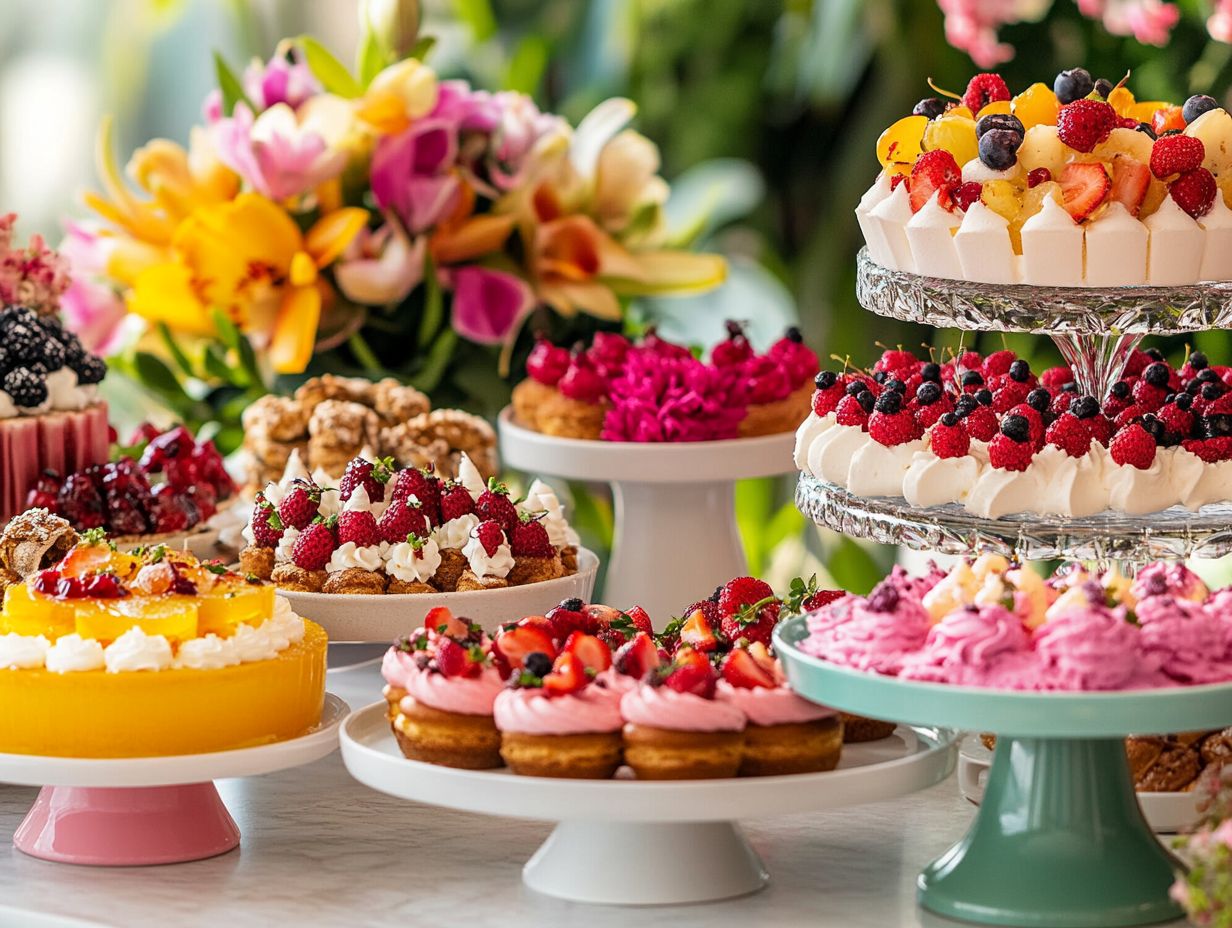
- Transform your sales and captivate customers with stunning dessert photography that shines on social media! Experiment with angles to find the most captivating shots.
- Having the right tools, such as a camera, lighting equipment, and props, is essential for capturing the perfect dessert shot.
- When styling desserts, pay attention to natural light, angles, depth of field, color and texture, and composition to create a visually appealing and cohesive shot. Incorporate food styling techniques and use a tripod for stability.
The Importance of Good Photography for Desserts
Good photography is essential for showcasing desserts. It significantly enhances the visual appeal of sweet treats and entices consumers to engage with your delicious offerings.
Photographers like Dima Valkov highlight the importance of capturing vibrant colors and unique compositions that tell a story around each dessert.
High-quality food photography, particularly when aimed at audiences on platforms like food blogs such as Pinch of Yum, can elevate the overall branding of your bakery or restaurant. Photographers like Brian Peterson excel in showcasing food. It not only draws in customers but also boosts the perceived value of your baked goods through meticulous styling and presentation.
How Does Good Photography Affect Sales?
Good photography has the power to elevate your sales by showcasing desserts in a way that captivates potential customers at first glance.
Research reveals that businesses employing high-quality food photography typically enjoy an impressive 30% increase in engagement and sales. Case studies highlight how brands that incorporate vibrant colors and artistic composition in their dessert displays create a memorable visual experience and foster deeper emotional connections with their audience.
When your customers encounter enticing images featuring a thoughtfully chosen color palette, they’re much more likely to be drawn to the product, leading to those delightful impulsive purchases. Essentially, these visual elements serve as a compelling invitation, encouraging individuals to indulge and discover increasingly unique and captivating dessert offerings.
Why is Good Photography Essential for Social Media?
In the digital age, exceptional photography is crucial for social media, acting as the gateway between your brand and its audience, especially in the delightful world of dessert photography.
When attractive pictures capture the rich textures and vibrant hues of your sweet creations, they forge an emotional connection that invites audience interaction. Engaging visuals not only tantalize taste buds but also serve as powerful instruments for enhancing brand visibility and fostering follower growth.
High-quality dessert photography can stop scrolling users in their tracks, compelling them to pause and admire the artistry behind each indulgent treat. This aesthetic appeal, paired with a strategic use of colors and effects, can evoke feelings of joy and desire, ultimately driving higher engagement rates across your social media platforms. Be sure to have fun with it, whether you are capturing desserts for Christmas, Easter, or any other festive occasions.
Essential Tools for Dessert Photography
To truly excel in dessert photography, it’s essential to equip yourself with the right tools. High-quality photography equipment, such as a Nikon Z6 or a Canon camera, paired with essential accessories, can profoundly elevate the final output of your images, transforming ordinary shots into stunning visual narratives.
Camera and Lens Options
In terms of dessert photography, selecting the right camera and lens is essential. Consider options like the Nikon Z6 or Canon cameras; both deliver outstanding image quality and versatility.
As you weigh the pros and cons of each brand, keep in mind that Nikon excels in low-light performance, while Canon is often celebrated for its user-friendly interface and appealing color profiles. A macro lens, specifically designed for close-up photography, is particularly important for capturing the intricate details of desserts, enabling you to achieve breathtaking close-ups that highlight textures and vibrant colors, making those sweets utterly irresistible to your audience.
Don’t forget to use Adobe Lightroom for post-processing your photos to enhance their final look.
When choosing your equipment, reflect on your personal style and the types of desserts that inspire you. This will guide you in selecting the appropriate distance of the lens and features necessary to bring your creative vision to life.
Lighting Equipment
Lighting equipment is absolutely crucial in dessert photography, and you have a range of options at your disposal, including natural light, flash photography, and various accessories like fill lights and white mini v-flats from V-Flat World to elevate the visual quality of your shots.
Mastering the art of manipulating these light sources can dramatically enhance the overall aesthetic of your images. Natural light is often the go-to choice for its soft, diffused quality, which beautifully enhances the textures and colors of desserts. To make the most of this effect, consider shooting near windows during the golden hour when the sunlight casts a warm, flattering glow. In low-light situations, fill lights can help you achieve the desired effect.
However, there are moments when natural light won’t cut it, especially in low-light situations or when you need to capture intricate details. That s when flash photography comes to the rescue. Utilizing a fill light can help to soften those harsh shadows that direct flash tends to create. You can also use white mini v-flats to bounce light back onto your subject, resulting in a more even illumination that showcases the dessert s most tempting features.
For example, by positioning a mini v-flat opposite your light source, you can effectively soften shadows, significantly boosting the visual appeal of your dessert masterpieces.
Props and Styling Tools for Dessert Photography
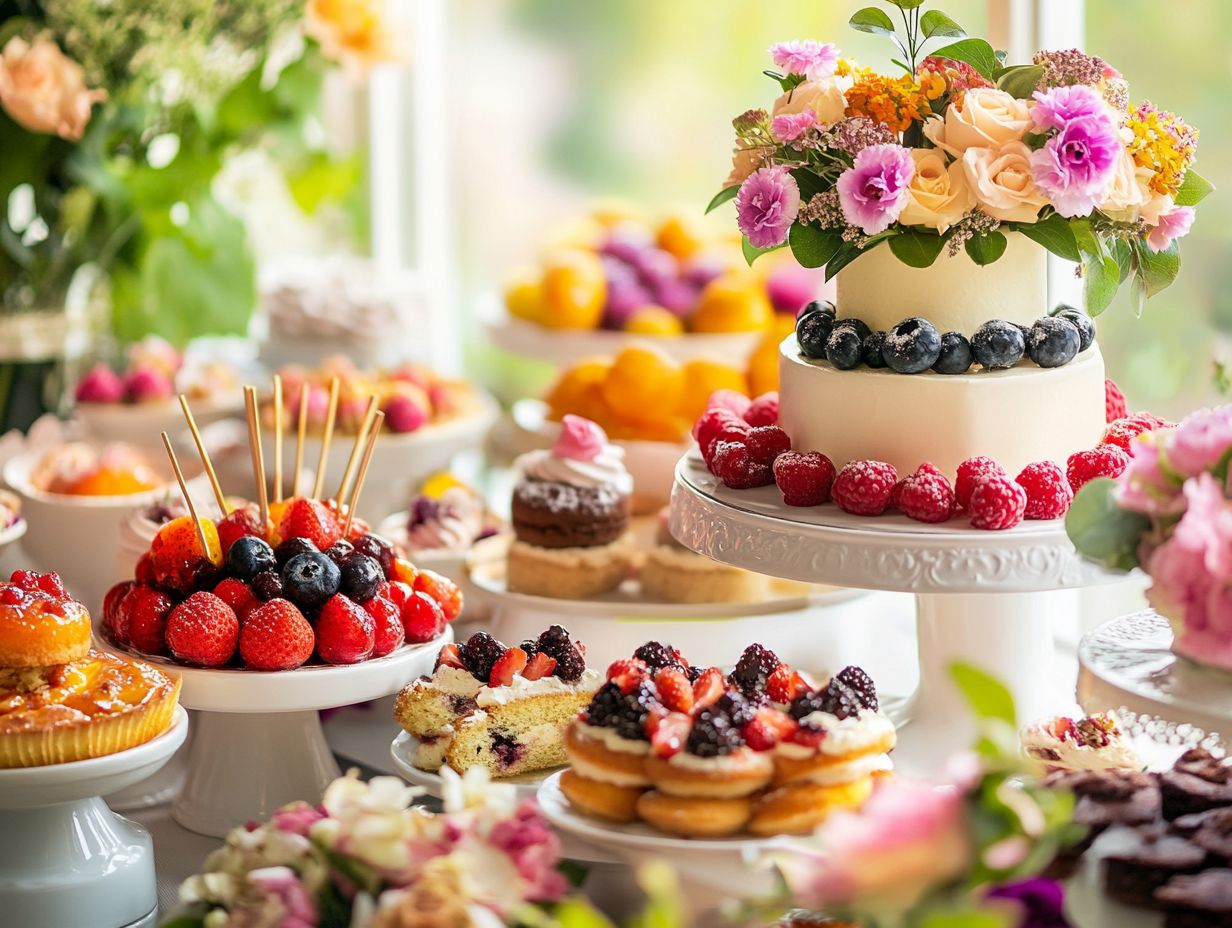
Utilizing props and styling tools in your dessert photography can elevate the visual allure of your images, infusing them with context and depth that enriches your compositions. Create a story around your desserts using thematic props suitable for special occasions like weddings, Diwali, and Chanukah.
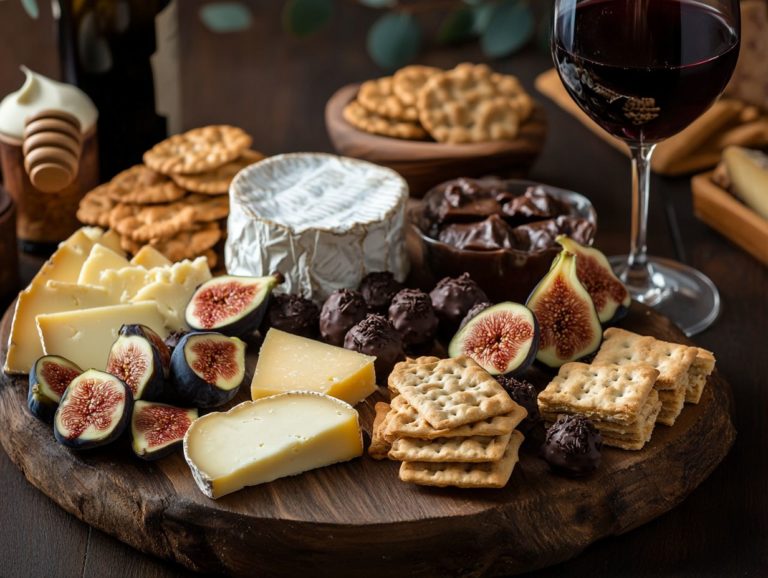
Incorporating elements like rustic wooden boards, delicate fabrics, or vibrantly colored plates can craft a captivating storytelling backdrop. Fresh ingredients, such as fruits or herbs, can add delightful splashes of color and vitality, while transparent glassware introduces an element of sophistication that draws the eye.
The choice of lighting, whether it s natural or artificial, is crucial in highlighting the intricate details of your desserts. By thoughtfully arranging these props and applying careful food styling techniques like layering or utilizing negative space you can create images that not only captivate the viewer but also evoke a rich sense of taste and experience.
Tips for Capturing the Perfect Dessert Shot
Capturing the perfect dessert shot demands a delicate balance of creativity and technique. Experiment with exciting angles to make your shots pop! Pay close attention to the intricate details. Add movement to your shots by sprinkling powdered sugar or drizzling syrup to make your photos more dynamic.
Using props can elevate your composition, while a sturdy tripod ensures stability, allowing you to achieve optimal results that truly showcase the allure of your culinary creations.
Now that you have these tips, it’s time to start capturing your own dessert photos and showcase your creativity!
Tips for Captivating Dessert Photography
1. Use Natural Light
Using natural light in dessert photography creates soft shadows that enhance the vibrant colors of your sweet treats. This results in a fresh and enticing appearance.
By strategically harnessing sunlight, you can evoke a sense of warmth and appeal that artificial lighting often fails to replicate. The ideal moments for your shots typically fall during the golden hours just after sunrise and just before sunset. At these times, the light is soft and diffused, flattering any dessert you choose to showcase. Make sure to adjust your light source as needed to maintain the best quality.
Position your delectable creations near windows or under clear skies to achieve even light distribution. Using light-colored surfaces or reflectors can further bounce light back onto the treats, accentuating the intricate details of icing and textures. Mastering these techniques will elevate the allure of your desserts in every photograph.
2. Experiment with Angles
Experimenting with angles in dessert photography can significantly alter how you perceive your subject. This allows you to capture unique visual elements that showcase the rich textures and layers of your desserts.
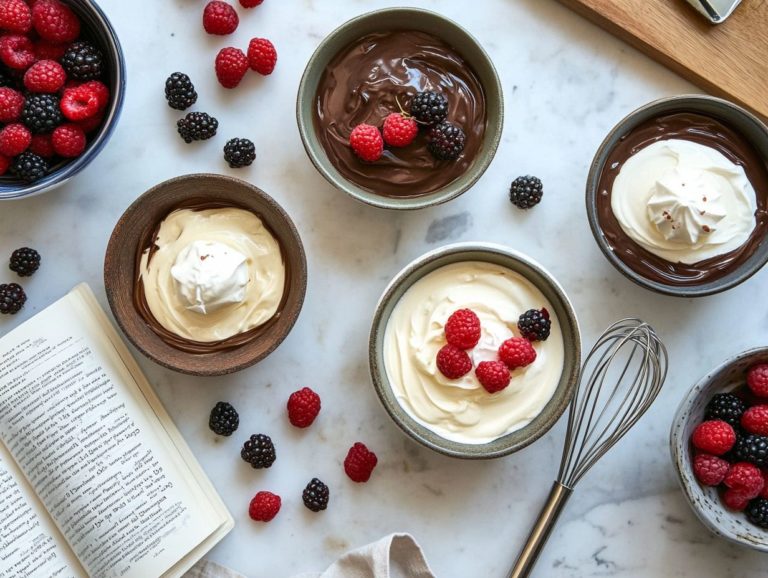
Use close-up shots to highlight intricate details, making your dessert photography stand out. By exploring various viewpoints, such as overhead shots that reveal a stunning array of colors and patterns, or close-ups that emphasize intricate details and mouthwatering textures, you can elevate your photographic storytelling. Side views provide a dynamic perspective, unveiling the layers and structural integrity of a cake or pastry that might otherwise go unnoticed.
Each angle brings its own flair, enhancing the overall appeal and inviting viewers to appreciate the dessert in fresh, exciting ways. Dive in and start experimenting with different perspectives! You might just capture your most striking dessert shots yet.
3. Play with Depth of Field
Playing with depth of field in dessert photography gives you the power to dictate what captures attention. This crafts a sense of three-dimensionality, ensuring that the most important details of your delectable creations shine through.
Consider using a macro lens for close-up looks. By adjusting the aperture setting on your camera, you can dramatically transform the visual impact of your images. A wide aperture, like f/2.8, lets in more light and blurs the background, which is ideal for showcasing intricate frosting designs or the textural elements of your dish. On the other hand, a narrow aperture like f/16 keeps more of the scene in focus, which can be advantageous when you want to incorporate complementary elements that enhance the narrative of your composition. Using a tripod can help you maintain stability during this process.
To direct focus with precision, consider employing manual focus on your primary subject. Explore various angles and perspectives that truly highlight the dessert’s finest features.
4. Incorporate Color and Texture
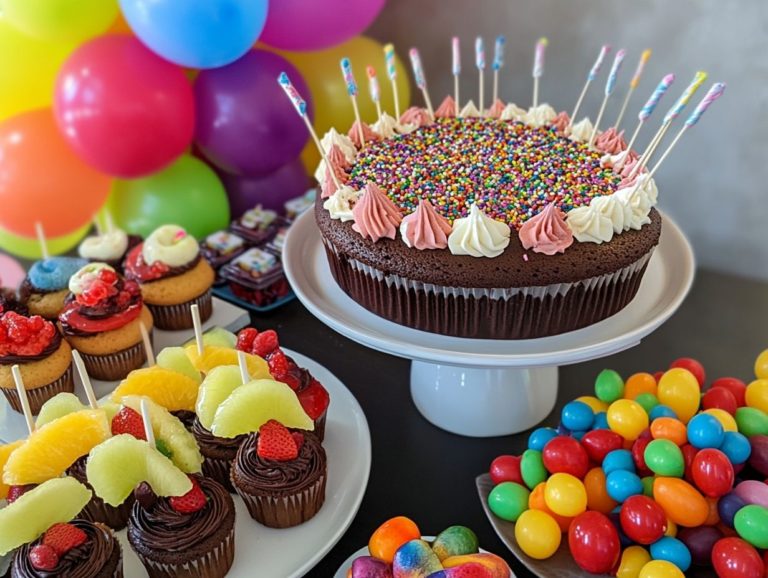
Incorporating a carefully curated color palette and showcasing vibrant hues in your dessert photography can transform your images into visually stunning masterpieces that effortlessly capture the viewer’s attention. Proper food styling is key.
The dance of color and texture can elevate even the simplest dessert into a delightful feast for the senses. To amplify these elements, it s essential to choose backgrounds that either contrast with or complement the dish, ensuring it truly shines.
Soft, muted tones can make bright desserts leap off the frame, while textured surfaces like wooden boards or marble add a tantalizing depth and intrigue. Utilizing white mini v-flats can help control the light source and fill light, enhancing visual elements.
By incorporating props such as cloth napkins or distinctive tableware, you introduce layers that invite viewers into the experience. This encourages them to not only see but also imagine the taste and delight of the dessert. Experiment with props to add more context to your shots.
5. Pay Attention to Composition
In dessert photography, paying attention to composition is crucial. It significantly influences how you perceive the deliciousness and allure of those sweet treats on display. Follow these composition tips to enhance your shots.
Utilizing techniques like the rule of thirds can elevate the visual appeal of your images. This approach encourages you to position key elements of the dessert along intersecting lines. Doing so naturally guides the viewer’s eye to the focal points. Experimenting with different styles can lead to unique compositions.
Incorporating leading lines, such as the edges of a table or a decorative border on a plate, effectively directs attention toward the dessert. This adds a layer of depth to your composition. Thoughtful framing is essential. It helps isolate the subject, cutting out distractions and ensuring that your exquisite confectionery creations remain the undeniable stars of the photograph.
Editing Techniques for Dessert Photography
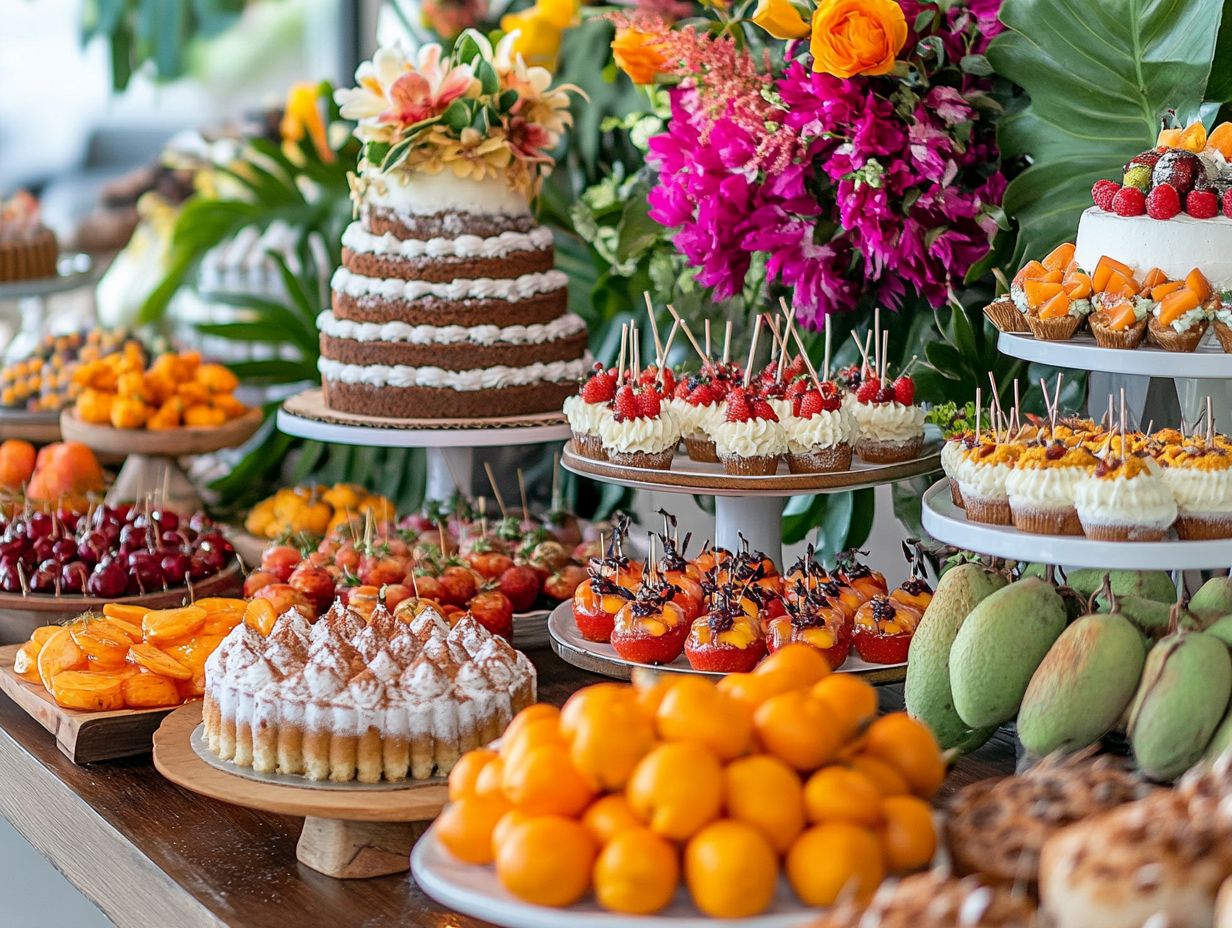
Editing is crucial in dessert photography. It enables you to elevate your images by utilizing software such as Adobe Lightroom. This powerful tool helps enhance colors, adjust light levels, and fine-tune overall exposure. The result is a visually stunning final product that captivates the viewer! Always remember to edit your images to make them truly shine!
1. Adjusting Light Levels and Color Accuracy
Adjusting light levels and white balance in your dessert photography can dramatically transform how your images are perceived. This ensures that the colors burst with vibrancy and remain true to life. Proper food photography techniques are essential.
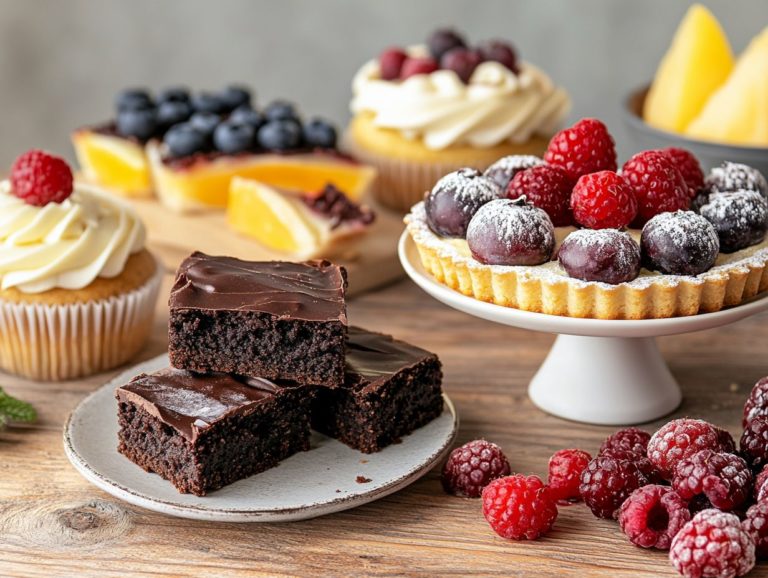
These adjustments enhance the overall aesthetic and capture the delectable details that make each dessert uniquely enticing. For instance, the right exposure can brighten a dimly lit scene. This reveals the intricate textures of a beautifully frosted cake or the glossy sheen of a rich chocolate tart. Fine-tuning the white balance helps eliminate unwanted color casts, allowing the deep hues of fresh berries or creamy frostings to shine authentically. A proper light source can make a significant difference!
Mastering these techniques elevates the visual storytelling of your culinary creations. You invite viewers to savor the moment as if they were indulging in the dessert themselves!
2. Enhancing Colors and Contrast
Enhancing colors and contrast in your dessert photography transforms your images into vibrant showcases. They draw viewers in and accentuate the tantalizing qualities of your sweet creations. This process elevates the visual appeal of the desserts and skillfully conveys their textures and flavors. Using Adobe Lightroom or Photoshop can help achieve the perfect balance.
Utilize an array of editing tools to fine-tune brightness, saturation, and contrast. This reveals the stunning hues of frosting, fresh fruits, or rich chocolate. It’s crucial to find the right balance during the editing process. Overly saturated images can appear artificial and detract from the genuine beauty of your desserts.
A subtle touch can make all the difference! Consider employing selective editing options to enhance specific areas of the image while leaving others in their natural state. This approach allows your desserts to maintain their inherent charm while still capturing your audience’s attention. Remember to focus on details!
Get ready to capture your desserts in a whole new light!
3. Removing Imperfections
Removing imperfections in your dessert photography during the editing process is essential for showcasing a polished and enticing image that truly reflects your culinary artistry.
While capturing the perfect shot might feel like a solid first step, it s important to recognize that numerous common flaws can undermine the overall appeal of the final image. These imperfections can range from distracting backgrounds and inadequate lighting to unwanted blemishes on the dessert itself. Using proper photography equipment can help minimize these issues.
With the aid of post-processing tools like Adobe Lightroom or Photoshop, you can easily fine-tune exposure, contrast, and color balance to elevate your images. Employing techniques such as spot healing and noise reduction will help you eliminate minor distractions, ensuring that the spotlight remains firmly on your delectable dessert and its intricate details. Tools like the Nikon Z6 or Canon cameras are excellent choices for capturing high-quality images.
Ultimately, this meticulous attention to detail will make your creations utterly irresistible to viewers.
Best Practices for Styling Desserts
Implementing best practices for styling desserts is crucial for capturing images that not only appear delectable but also convey a captivating story, enticing viewers to indulge in the sweets you showcase. Creating a story through your shots can make a significant impact.
By paying attention to the details, you can create visually stunning presentations that draw in your audience and make them crave every bite.
1. Choosing the Right Background
Selecting the perfect background for your dessert photography can significantly elevate the overall composition and visual allure of your images, setting an enticing tone for your delectable creations.
The backdrop you choose has the power to cultivate distinct moods, enhance colors, and evoke specific emotions, shaping the viewer’s experience. For example, a rustic wooden table can infuse a warm, inviting atmosphere, while a sleek marble surface delivers a modern elegance, perfectly suited for sophisticated desserts. Adding movement, such as a sprinkle of powdered sugar, can also add a dynamic element to your shots.
It s essential to take into account the colors and textures of your desserts; light-colored backgrounds can make vibrant treats truly stand out, while darker tones can create a dramatic contrast that captivates the eye. Don t shy away from experimenting with various materials think fabrics or patterned papers and consider adding elements like fresh fruits or flowers to enrich the presentation, adding depth and interest that will leave a lasting impression.
2. Using Props to Enhance the Shot
Using props in your dessert photography can elevate your shots by providing context and adding visual interest, turning each sweet treat into a delightful story.
When selecting props, consider vintage silverware, rustic wooden boards, or vibrant textiles that set a mood perfectly suited to your dessert. For example, a delicate lace cloth can bring an air of elegance, while a bold-colored napkin might introduce a playful vibe. It s essential to position these props with care placing them slightly out of focus or off to the side allows the dessert to remain the star of the show, ensuring that the viewer s gaze is primarily drawn to that delectable dish. Celebratory themes, such as Christmas or weddings, can also be accentuated with the right props.
Incorporating natural elements, such as fresh fruits or herbs, can add a burst of color and texture without overshadowing the dessert itself.
3. Creating a Cohesive Theme
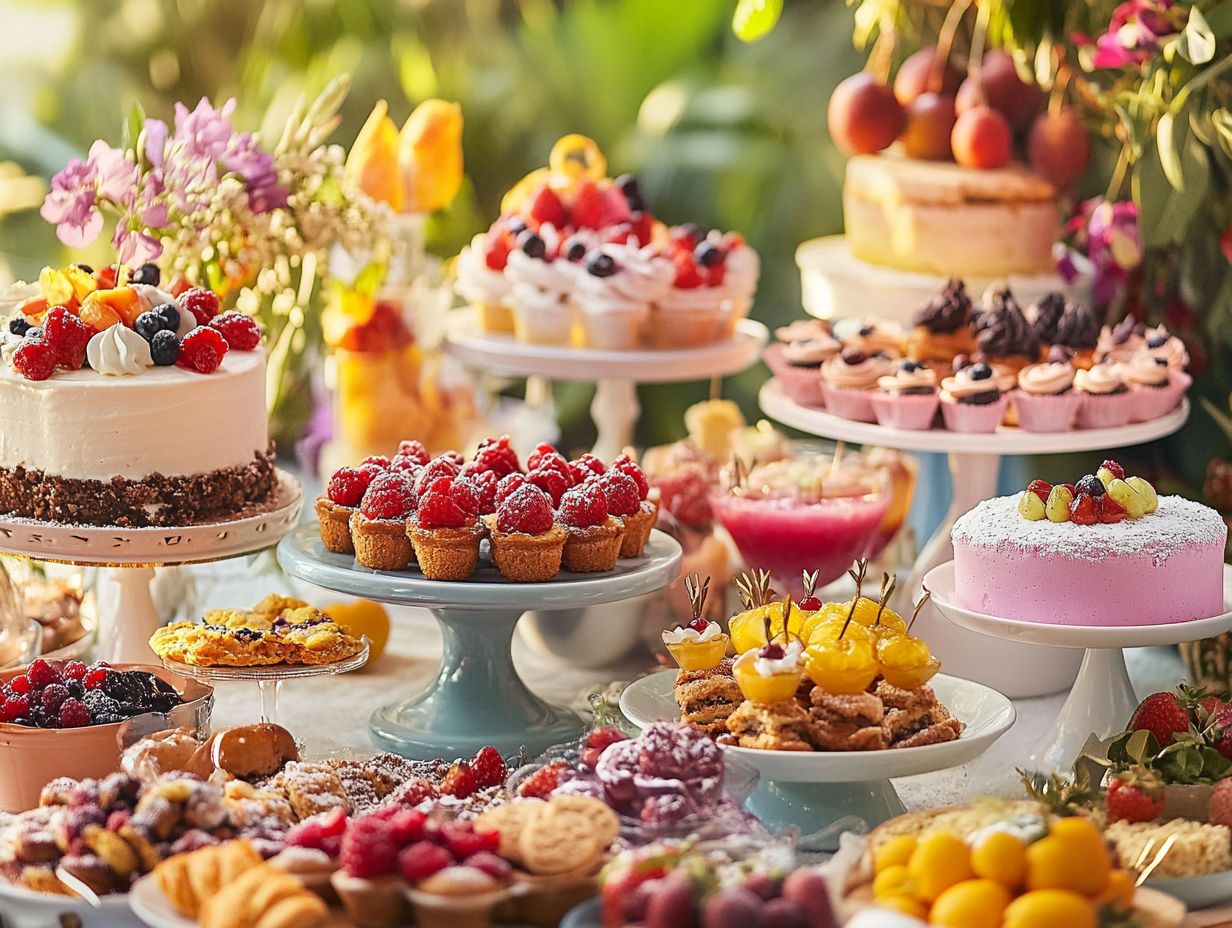
Creating a cohesive theme in your dessert photography will elevate your images, unifying them in a way that captivates and enhances the viewer’s experience.
By thoughtfully selecting your color schemes, you can evoke specific emotions and establish the mood for your collection. Soft pastels might envelop your images in a dreamy ambiance, while vibrant hues can grab attention and spark excitement. Referencing food blogs like Pinch of Yum can provide inspiration and guidance.
Incorporating props can add layers of depth and context to your shots, highlighting textures and inviting viewers to step into the scene. Employing styling techniques like layering fabrics or integrating natural elements can further enrich the narrative you wish to convey.
Don’t be afraid to use flash photography for dramatic effects when necessary. Ultimately, maintaining consistency in these visual choices ensures a seamless flow throughout your photographs, crafting an engaging story that captivates the audience and allows each image to resonate individually.
Whether it’s food photography or capturing special events like weddings or Christmas, these principles apply universally.
Frequently Asked Questions
What Are the Best Practices for Dessert Photography?
The best practices for dessert photography, a part of food photography, are as follows:
- Use natural lighting whenever possible, but you may also use a light source, such as flash photography, if needed.
- Choose an attractive background or setting.
- Experiment with different angles and perspectives, such as close-up looks and overhead shots.
- Utilize props to add interest and context, such as fresh fruit and vibrant hues to create a lively color palette.
- Edit your photos to enhance color and sharpness using software like Adobe Lightroom.
- Take multiple shots to capture different details, focusing on creating a story with each image.
Why is natural lighting important in dessert photography?
Natural lighting is important in dessert photography because it creates a soft, even light that enhances the colors and textures of the dessert. Artificial lighting can create harsh shadows and alter the appearance of the dessert.
Using white mini v-flats, which are small reflective panels, can help control and direct natural light effectively.
How can I choose a background or setting for my dessert photography?
When choosing a background or setting for dessert photography, look for colors and textures that complement the dessert. You can also use props, such as plates, utensils, and tablecloths, to add interest and context to the photo.
Consider also the use of photography equipment such as a tripod to keep your shots steady and composed.
What angles and perspectives should I experiment with in dessert photography?
Experiment with different angles and perspectives to capture unique shots. Try overhead shots, side angles, and close-ups to highlight details.
How can I use props in dessert photography?
Props add interest and context to your photos. Use fresh fruit, flowers, and utensils to enhance your composition.
Why is editing important in dessert photography?
Editing enhances colors and sharpness, making desserts look more tempting. It also helps correct any lighting or composition issues from the shoot.

