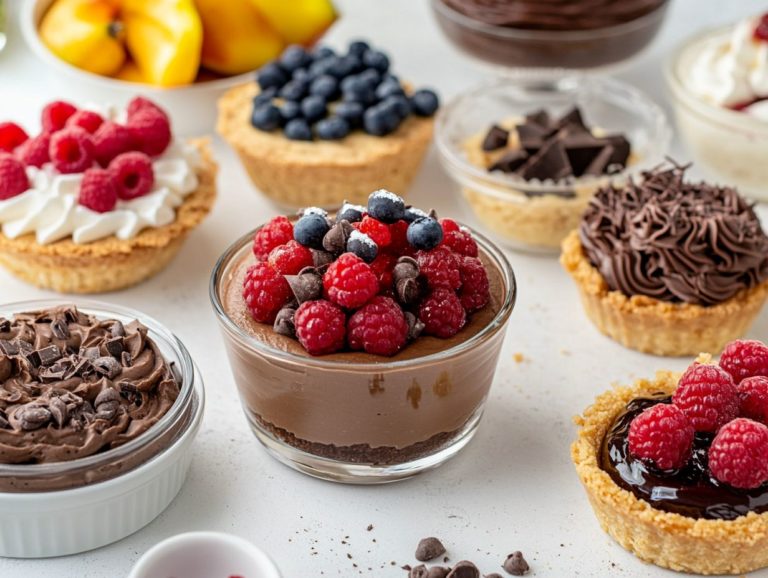
How to Make Ice Cream at Home?
Craving a sweet, creamy treat that you can tailor to your every whim? Dive into the delicious world of homemade ice cream and unleash your creativity! Making customizable homemade ice cream is not just a delightful experience; it s an opportunity to take charge of your ingredients and flavors.
You ll be guided through the essential ingredients and equipment you need, with step-by-step instructions on how to make the perfect ice cream, along with handy tips to steer clear of common mishaps.
Whether you re just starting out or you re already a culinary aficionado, you ll have everything at your fingertips to create your own delicious frozen masterpiece. Get ready to scoop up some fun!
Contents
- How to Make Ice Cream at Home
- Homemade Ice Cream: Tips and Tricks
- 4. Experiment with Different Flavors and Combinations
- Common Mistakes to Avoid When Making Ice Cream at Home with KitchenAid
- How to Store Homemade Ice Cream
- Final Thoughts
- Frequently Asked Questions
- What ingredients do I need to make homemade ice cream?
- Is it necessary to use an ice cream maker to make homemade ice cream?
- Can I make homemade ice cream using alternative sweeteners?
- How long does it take to make homemade ice cream?
- Can I use frozen fruit to make homemade ice cream?
- How do I store homemade ice cream from my KitchenAid mixer?
Key Takeaways:
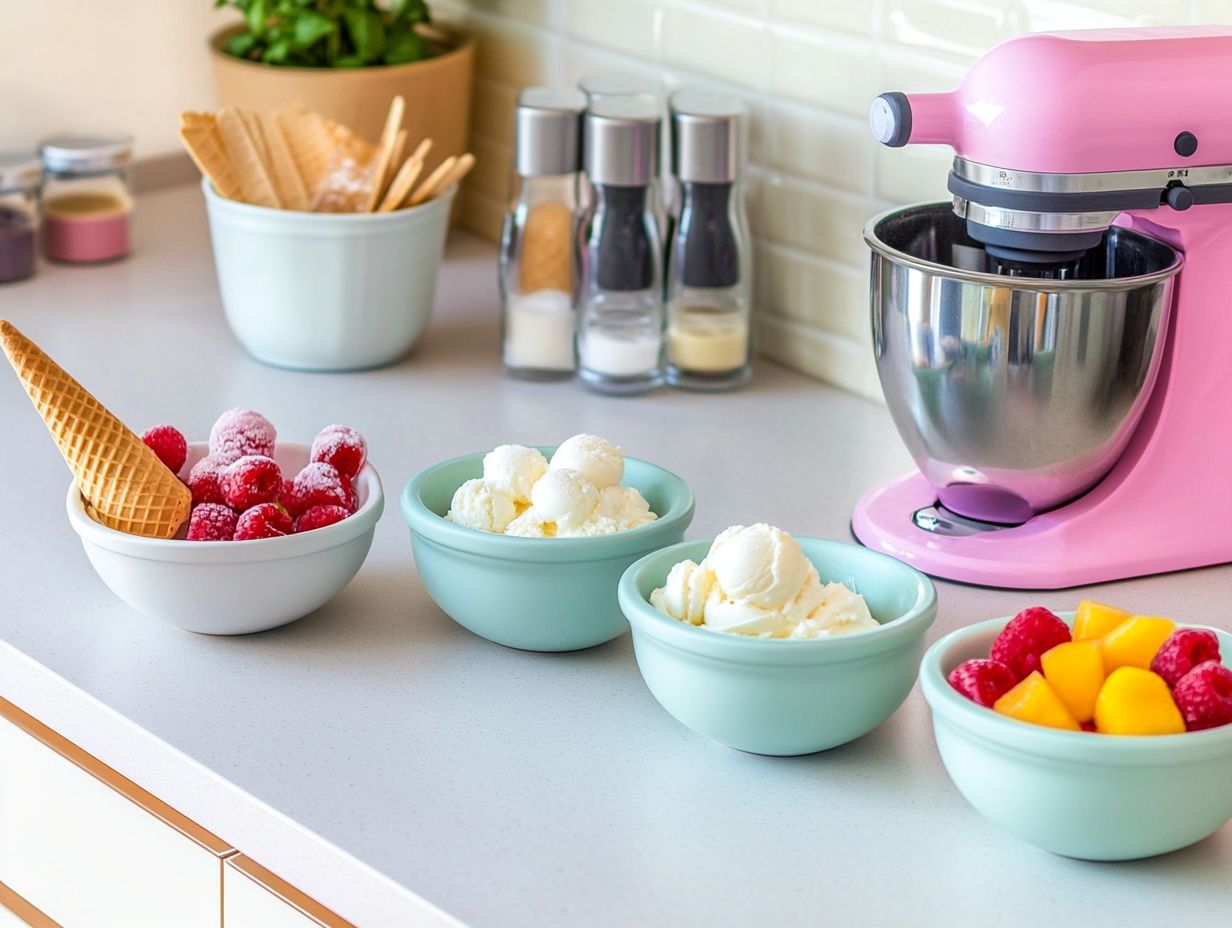
- Use high-quality ingredients for the best homemade ice cream, such as heavy cream and granulated sugar.
- Chill the ice cream base before churning to achieve a creamy texture.
- Experiment with different flavors and mix-ins to create unique and delicious ice cream flavors, including add-ins and toppings like strawberries, blueberries, or Nutella.
Ingredients Needed to Make Ice Cream at Home
To craft the ultimate homemade ice cream experience, you ll want to gather a few essential ingredients that guarantee your dessert is both delicious and customizable to your taste. At the heart of any ice cream recipe lies milk or cream, which lends that luxurious, creamy texture, while sugar balances the flavors and adds just the right touch of sweetness.
For those wondering how to make customizable homemade ice cream, following a good recipe ensures an excellent start.
If vanilla ice cream is your passion, using heavy cream alongside granulated sugar is crucial, as these components form the perfect foundation. You can elevate your creation by adding a variety of flavorings and a thickening agent a substance that helps to make the ice cream thicker ensuring your homemade vanilla ice cream achieves that ideal consistency and flavor profile. By adding vanilla extract, you enhance the classic flavor that many ice cream enthusiasts adore.
1. Milk or Cream
When you embark on the delightful journey of making homemade ice cream, the choice between milk and cream can significantly affect the texture and richness of your creation.
Whole milk, with its moderate fat content of around 3.25%, strikes a wonderful balance, imparting a creamy smoothness that complements the sweetness without overwhelming it. In contrast, heavy cream, boasting a luxurious 36% fat content, elevates your ice cream to a new level of indulgence, offering a denser texture that melts beautifully on the palate.
If you prefer something in between, half-and-half a harmonious blend of whole milk and cream provides a versatile option, delivering a creaminess that enhances flavor without being overly rich. For lighter, refreshing fruit-based sorbets, whole milk may be just right, while richer concoctions like chocolate or custard styles truly shine with the decadent touch of heavy cream.
Understanding the role each ingredient plays in your ice cream can truly enhance your dessert-making adventure. From the creamy texture of half-and-half to the rich depth provided by heavy cream, each element is vital for achieving the perfect ice cream texture. For those looking to experiment, mixing different ingredients like whipped cream can result in delightful variations.
2. Sugar
Sugar is an essential component of any ice cream recipe, acting as the primary sweetener that elevates flavor and perfectly balances the creaminess of the dairy ingredients.
The type of sugar you choose can dramatically impact the final product’s taste and texture. For example, granulated sugar is a popular choice due to its straightforward sweetness and quick-dissolving properties, ensuring a wonderfully smooth texture. In contrast, brown sugar adds a rich, caramel-like flavor that deepens the overall taste while influencing the ice cream’s final consistency.
Exploring alternative sugars, such as honey or maple syrup, can introduce a unique twist each bringing distinct flavors and potentially altering the mouthfeel in delightful ways.
Ultimately, sugar does more than just sweeten; it plays a pivotal role in achieving that creamy, dreamy texture that every homemade ice cream enthusiast dreams of. Whether using classic granulated sugar or experimenting with alternatives like honey or maple syrup, the choice of sweetener can significantly enhance the flavor and texture of your ice cream.
In conclusion, making homemade ice cream allows you to explore flavors and create delicious desserts tailored to your preferences. Gather your ingredients, follow the guidelines, and start crafting your frozen treats today!
We d love to see your ice cream creations! Share your masterpieces on social media and invite friends and family to join in on the fun!
How to Make Ice Cream at Home
3. Flavorings
Flavorings are what truly set your homemade ice cream apart, allowing you to tailor each batch to your personal taste preferences. By adding your flavorings thoughtfully, you can create a diverse range of ice cream experiences.
Experimenting with a variety of flavoring options such as rich vanilla extract, decadent cocoa powder, or vibrant fruit purees can elevate the base to an entirely new level of deliciousness. A splash of vanilla extract enhances the sweetness without overwhelming it. Meanwhile, cocoa powder adds a luscious chocolatey depth.
Fruit purees not only contribute natural sweetness but also infuse your creation with vibrant colors that catch the eye. To elevate the experience further, consider adding delightful mix-ins like chocolate chips, crushed candies, or nuts.
Don t overlook the potential of toppings. Fresh fruit or a drizzle of caramel sauce can take your ice cream to new heights. This kind of creativity ensures that each scoop is not just a treat but a true reflection of your unique tastes. Popular brands like Ben & Jerry’s often inspire such innovations, using mix-ins like Oreo cookies or peanut butter swirls to create irresistible flavors.
4. Thickening Agents
In your quest for the perfect homemade ice cream, a thickening agent is essential to achieve that luxuriously creamy consistency. This is especially true for creating custard styles or when you want to make ice cream that rivals the texture of commercially available options.
These agents enhance the texture and stability of your creation, resulting in a beautifully smooth mouthfeel. For example, egg yolks impart richness and facilitate mixing fat and water together smoothly. Conversely, cornstarch serves as an excellent thickener without altering the flavor, making it an ideal choice for a lighter option.
Gelatin introduces a delicate firmness to your ice cream, especially suited for recipes where a softer scoop isn’t a priority. Exploring these options helps you achieve the perfect ice cream texture tailored to your preferences.
To effectively incorporate these thickening agents, it’s crucial to know when to add them. For egg yolks, tempering is a must. Cornstarch should be mixed with milk before heating to activate its thickening properties. Gelatin requires blooming in cold water beforehand to ensure seamless integration, setting the stage for a delightful homemade treat.
Equipment Needed to Make Ice Cream at Home
Creating homemade ice cream is an art that demands not only quality ingredients but also the right equipment to ensure your efforts are efficient and deliver exceptional results. An ice cream maker is a valuable tool that helps you churn the mixture to achieve that creamy, indulgent texture we all crave.
But fear not if you don t have one; you can easily whip up delicious ice cream without a machine using straightforward techniques. For instance, using a quart size resealable bag and some vigorous shaking, you can achieve excellent results without specialized equipment.
A freezer-safe container is essential for storing your delicious creation once it s churned and ready to freeze. Having a whisk or mixer readily available enhances your process, allowing you to thoroughly combine the ingredients, whether you choose a traditional churning method or a no-churn recipe.
Embrace the experience. Soon enough, you’ll be savoring the fruits of your labor in the form of rich, homemade ice cream. Don t wait any longer; start your ice cream journey today!
Conclusion
Making ice cream at home is not only rewarding but also allows you to experiment with flavors and textures to create your perfect treat. Remember to use quality ingredients, the right equipment, and, most importantly, your creativity! Share your ice cream creations on social media to inspire others and build a community of ice cream lovers!
1. Ice Cream Maker
An ice cream maker is an essential tool for anyone serious about crafting homemade ice cream, as it automates the churning process needed to achieve a smooth, creamy texture.
With a wide array of models available, selecting the right one can greatly elevate your homemade ice cream experience. Electric ice cream makers, including convenient attachments for KitchenAid mixers, make whipping up delicious batches a breeze with minimal effort. If you lean toward a more traditional approach, manual churners provide that hands-on experience, allowing you to savor the process while evoking a sense of nostalgia.
Whether you purchase from Amazon or specialized stores like Sur la Table, the right ice cream maker can make all the difference in your dessert-making adventures.
When choosing your ideal ice cream maker, consider important factors such as batch size, ease of cleaning, and whether you prefer an automatic or manual process. Ultimately, the model you select should reflect your personal preferences, ensuring that each homemade creation is simple to make and perfectly tailored to your unique tastes.
2. Freezer-Safe Container
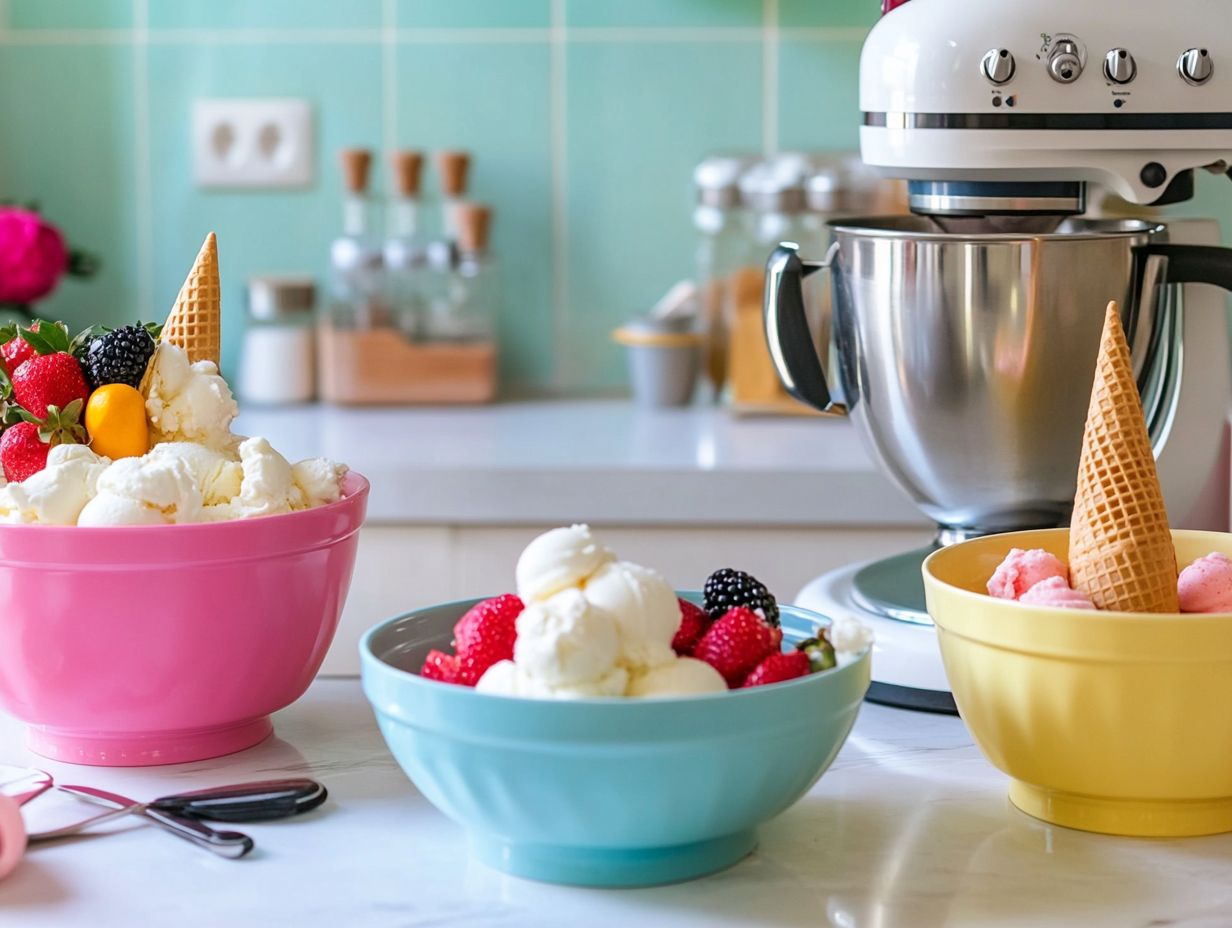
A freezer-safe container is critical for storing your freshly made ice cream, ensuring it retains its quality and creamy texture while frozen.
When selecting the ideal container, consider several materials. Glass containers offer a sophisticated option that won t absorb odors, making them perfect for preserving the delicate flavors of your ice cream. Plastic containers are lightweight and often equipped with airtight seals, which are essential for preventing ice crystals from forming and compromising that luscious texture.
Silicone containers present another innovative choice; their flexibility allows for effortless scooping and serving. Regardless of which material you choose, the sealing mechanism is key in keeping air out and maintaining the delightful taste of your ice cream.
Always opt for containers that offer a snug fit to ensure your frozen creation stays as delectable as the day it was made.
3. Whisk or Mixer
A whisk, mixer, or even a food processor can be invaluable when preparing your ice cream base. These tools ensure that all your ingredients mix together seamlessly for that perfect, smooth consistency. A blender is also useful for incorporating fruits or other ingredients into your ice cream mix.
A whisk gives you greater control and a more hands-on approach, making it ideal for small batches or when you want to incorporate air into your mixture essential for that light, creamy texture. In contrast, a mixer shines in terms of efficiency, swiftly blending larger quantities without demanding as much physical effort. This can be especially beneficial when you re whipping up big batches for gatherings or celebrations. Whether you’re preparing a dessert for a family dinner or a large party, tools from KitchenAid can come in handy.
When mixing eggs, cream, and sugar, a whisk helps you achieve a smooth mixture. Meanwhile, a mixer is perfectly suited for folding in flavorings or heavy cream to enhance volume later in the ice cream-making process. Tools from Amazon or Sur la Table can be perfect for these tasks.
Steps to Make Ice Cream at Home
Creating ice cream at home is not just a delightful endeavor; it’s an experience that combines simplicity and creativity to yield a dessert that’s uniquely yours.
Your journey begins with crafting the ice cream base, where you’ll mix together milk, cream, sugar, and your chosen flavorings. Next, you’ll churn this delightful mixture whether in an ice cream maker or through alternative methods if you don t have one. You can also make without machine by using a freezer and stirring method.
The secret to that incredibly creamy texture is in the freezing process; allow your concoction to chill in the freezer for hours until it reaches that ideal firmness.
Finally, it s time to serve and enjoy your delicious homemade ice cream, adorned with a variety of add-ins and toppings that elevate it even further. Get creative with Oreo crumbles, candy pieces, or even a swirl of Nutella or Caramel.
1. Prepare the Ice Cream Base
The first step in crafting your own delicious homemade ice cream is preparing the ice cream base. This means combining essential ingredients to create a rich, flavorful mixture.
To achieve the perfect base, expertly balance the ratios of milk, cream, sugar, and selected flavorings. A solid guideline is to use two parts cream to one part milk, along with about cup of sugar per quart. This combination results in a creamy texture that is both smooth and indulgent. Don t forget to add your flavorings for a unique taste.
Proper blending is crucial. It ensures that the sugar dissolves completely and that the mixture is well mixed. This helps prevent unwanted ice crystals from forming during freezing. If you re eager to put your spin on the recipe, try different types of milk, like almond or coconut, for unique flavors and textures.
Incorporating various extracts or mix-ins opens up a world of endless variations, allowing you to tailor your ice cream to your personal preferences. You can also mimic popular flavors like Ben & Jerry’s by experimenting with different ingredients and combinations.
2. Churn the Ice Cream
Churning the ice cream is an essential step that incorporates air into the mixture. This results in a fluffy and creamy texture that elevates your homemade ice cream to new heights.
To achieve that perfect consistency, the churning process will vary depending on your specific ice cream maker. Generally, you should churn for about 20 to 30 minutes for most models. Keep a close watch for signs that your ice cream is ready; the mixture should thicken significantly, reaching a delightful soft-serve texture, and start pulling away from the sides of the machine.
If you don t have an ice cream maker, don t worry alternative methods are available! Use a metal bowl placed in a larger bowl filled with ice and salt. Stir the mixture vigorously every 30 minutes, and soon enough, you ll enjoy a delightful homemade treat.
3. Freeze the Ice Cream
After you’ve churned your ice cream, the next step is to freeze it to achieve that perfect consistency and texture that makes every scoop a delight.
This crucial phase transforms the mixture into a creamy frozen treat, ideal for savoring on a hot day or serving at special celebrations. To ensure the best results, transfer the churned ice cream into a freezer-safe container that allows ample space for expansion. Aim to freeze it for about 4 to 6 hours. For optimal flavor and texture, letting it sit overnight is often the best choice.
One important tip is to minimize air exposure. Seal the container tightly with a lid or wrap it in plastic wrap. This reduces the risk of ice crystals forming, which can compromise that luscious, creamy texture. By ensuring your ice cream is tightly sealed, you’ll maintain its freshness, flavors, and overall quality for longer enjoyment.
4. Serve and Enjoy!
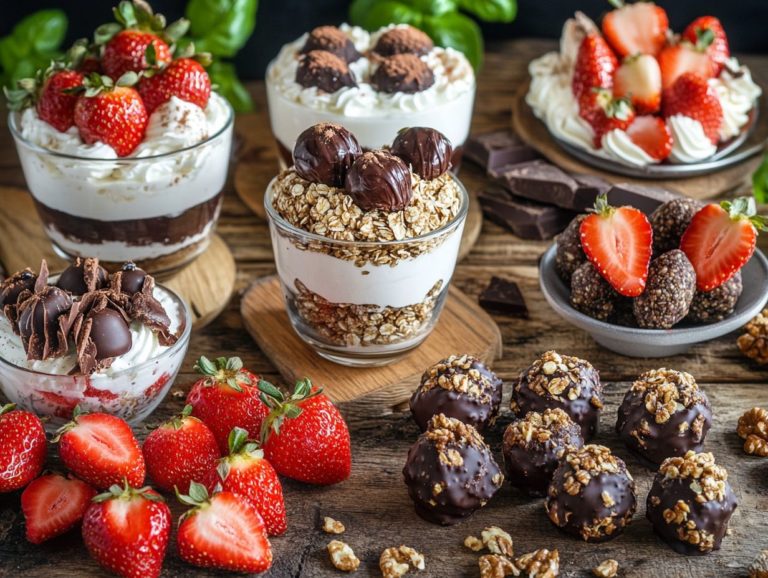
Now’s the moment to serve and indulge in your homemade masterpiece! Showcase its deliciousness with an array of fun add-ins and toppings. Fresh berries or slices of banana can add a refreshing twist to your desserts.
Imagine presenting your treat in an elegant bowl or a quirky cone; this simple touch can elevate the entire experience. For a hint of indulgence, whip up some fresh cream to dollop on top, adding a luscious texture that invites delight. Alternatively, consider a generous sprinkle of crumbled Oreo cookies for a satisfying crunch or toss in various candy pieces to introduce a burst of flavor that excites the palate.
Don t forget about fresh fruit; a scattering of berries or slices of banana can transform a simple scoop into a refreshing delight. Invite everyone to explore their creativity, allowing for a creative twist on each serving and celebrating the joy of homemade ice cream.
Tips and Tricks for Making the Perfect Homemade Ice Cream
Crafting the ideal homemade ice cream demands not only the finest ingredients but also a few insider tips that can elevate your dessert to extraordinary heights.
Start with high-quality ingredients, as they play a crucial role in shaping the flavor and texture of your ice cream. Make sure to chill your ice cream base before churning; this simple step can achieve a remarkably smooth consistency.
Regarding adding mix-ins, do so carefully after churning to preserve their delightful texture. Embrace the opportunity to experiment with various flavors and combinations, for the real joy of homemade ice cream lies in its endless customization possibilities.
1. Use High-Quality Ingredients

Using high-quality ingredients is essential when you re crafting the ultimate homemade ice cream.
Choosing premium dairy products, like rich, creamy milk and artisanal cream, guarantees a velvety texture that elevates your dessert to something truly extraordinary. Fresh fruits bring vibrant flavors and natural sweetness to the table, allowing the true essence of each fruit to shine through rather than being overwhelmed by the preservatives found in artificial options.
Real flavor extracts, derived from natural ingredients, can significantly enhance your ice cream’s overall profile, infusing it with an authentic taste that captures the essence of a fresh garden. This creates a more enjoyable and satisfying experience with every spoonful.
By prioritizing these quality ingredients, you can dramatically improve both the taste and mouthfeel, transforming a simple treat into a gourmet indulgence.
2. Chill the Ice Cream Base Before Churning
Chilling your ice cream base before churning is a simple yet powerful technique that can dramatically enhance the texture of your homemade ice cream. By giving the mixture ample time to cool completely, you reduce churning time, which ultimately results in a creamier final product.
When the ice cream base is properly chilled, it prevents the formation of large ice crystals, ensuring a smooth consistency akin to that of commercial varieties. For optimal results, aim to chill the base for at least 4 hours, or even overnight.
The best methods to achieve this include placing the mixture in an ice bath or simply using your refrigerator.
Both approaches promote even cooling and help maintain the necessary temperature throughout the churning process, allowing you to create a luscious, velvety treat that is sure to delight the palate.
3. Add Mix-Ins After Churning
To maintain the delightful texture of your homemade ice cream, it’s advisable to add any mix-ins or toppings only after the churning process is complete. This method not only safeguards the structural integrity of your additions but also ensures they retain their unique textures, sparing you from that overly soft, mushy consistency that could compromise your ice cream experience.
As your ice cream reaches that creamy perfection, consider folding in popular mix-ins such as chunks of chocolate, fresh fruit pieces, cookie crumbles, or swirls of indulgent caramel. The best way to incorporate these treats is by gently using a spatula, allowing for an even distribution throughout your ice cream without overworking it. This technique guarantees that every spoonful offers a delightful balance of flavors and textures, making each bite a true pleasure.
Homemade Ice Cream: Tips and Tricks
4. Experiment with Different Flavors and Combinations
One of the greatest joys of making homemade ice cream lies in the delightful opportunity to experiment with a multitude of flavors and combinations that transcend the typical vanilla and chocolate.
Explore unique flavors like strawberry, Nutella, Oreo, or rich caramel. Elevate your creations beyond the ordinary, similar to the innovative flavors from Ben & Jerry’s. Imagine the possibilities of blending fresh strawberries with a creamy base or swirling in decadent ribbons of Nutella for an indulgent treat that tantalizes the senses.
To further enhance flavor development, consider adding flavors to your mixtures with fresh herbs such as basil or mint. These additions introduce a surprising freshness that enlivens the palate.
Don’t hesitate to experiment! You might discover your next favorite flavor by mixing in ingredients like crushed cookies, spices, or even a splash of your favorite liqueur. A touch of cream and sugar can also create innovative and delightful frozen concoctions that will both surprise and satisfy.
Common Mistakes to Avoid When Making Ice Cream at Home with KitchenAid
Creating homemade ice cream can be a truly delightful experience, but there are common pitfalls that could impede your success and lead to disappointing results.
One major misstep is neglecting to chill the ice cream base thoroughly before churning: this can compromise the texture and result in pesky ice crystals. Over-churning your ice cream can lead to a grainy consistency instead of the velvety smoothness you desire. Lastly, if you don t freeze the ice cream for an adequate amount of time, you might end up with a soft, unmanageable dessert.
It s crucial to follow recommended freezing times to achieve that perfect ice cream texture you crave.
1. Not Chilling the Ice Cream Base
Failing to chill your ice cream base properly before churning is a critical oversight that will undoubtedly affect the final texture of your homemade creation.
When the base isn t adequately chilled, you risk ending up with an undesirable consistency, often resulting in a grainy texture due to the formation of larger ice crystals. These larger crystals develop because the base isn t cold enough to freeze evenly during churning.
By chilling the base, you allow for the formation of smaller ice crystals, leading to a smoother, creamier finish. For optimal results, aim to refrigerate the base for at least four hours, or better yet, overnight.
If you want to speed things up, consider using an ice bath, which can significantly expedite the chilling process. This essential step enhances the flavor and elevates the entire ice cream experience, ensuring that every spoonful is luxuriously soft and velvety.
2. Over-churning the Ice Cream
Over-churning your ice cream can lead to a grainy texture that ruins the smooth and creamy indulgence you re aiming for.
To achieve that perfect blend, it s essential to pay close attention to the signs of over-churning, which often present themselves as a noticeable change in texture. You might notice that the ice cream appears overly thick or even starts to separate, signaling that it has been agitated for too long.
To prevent this from happening, meticulously monitor the churning time, striving for a balance that allows for the right consistency while preserving that velvety mouthfeel. Watch the mixture s appearance and temperature; ideally, it should look like soft peaks before you transfer it to the freezer.
Utilizing a timer and regularly checking the texture can help you maintain that coveted creaminess, ensuring that every scoop is a delightful experience.
3. Not Freezing the Ice Cream for Long Enough
A common misstep in crafting your own homemade ice cream is not allowing it to freeze for the right amount of time. This results in a dessert that’s soft and difficult to manage. This essential step is crucial for attaining that luxurious creaminess and consistency that frozen treat enthusiasts yearn for.
The freezing duration can fluctuate significantly based on the method you choose be it an ice cream maker, a KitchenAid manual churn, or simply using your freezer. For instance, if you’re using an ice cream machine like those available on Amazon or Sur la Table, you’re typically looking at about 20 to 40 minutes of churning, followed by a couple of hours in the freezer to ensure it fully sets.
On the flip side, if you prefer traditional methods, you ll need to stir your mixture every 30 minutes for the initial few hours to promote an even freeze. This process can take up to 6 hours.
Recognizing these variations is essential for achieving that perfect texture, allowing your ice cream to be both scoopable and delightfully creamy.
How to Store Homemade Ice Cream
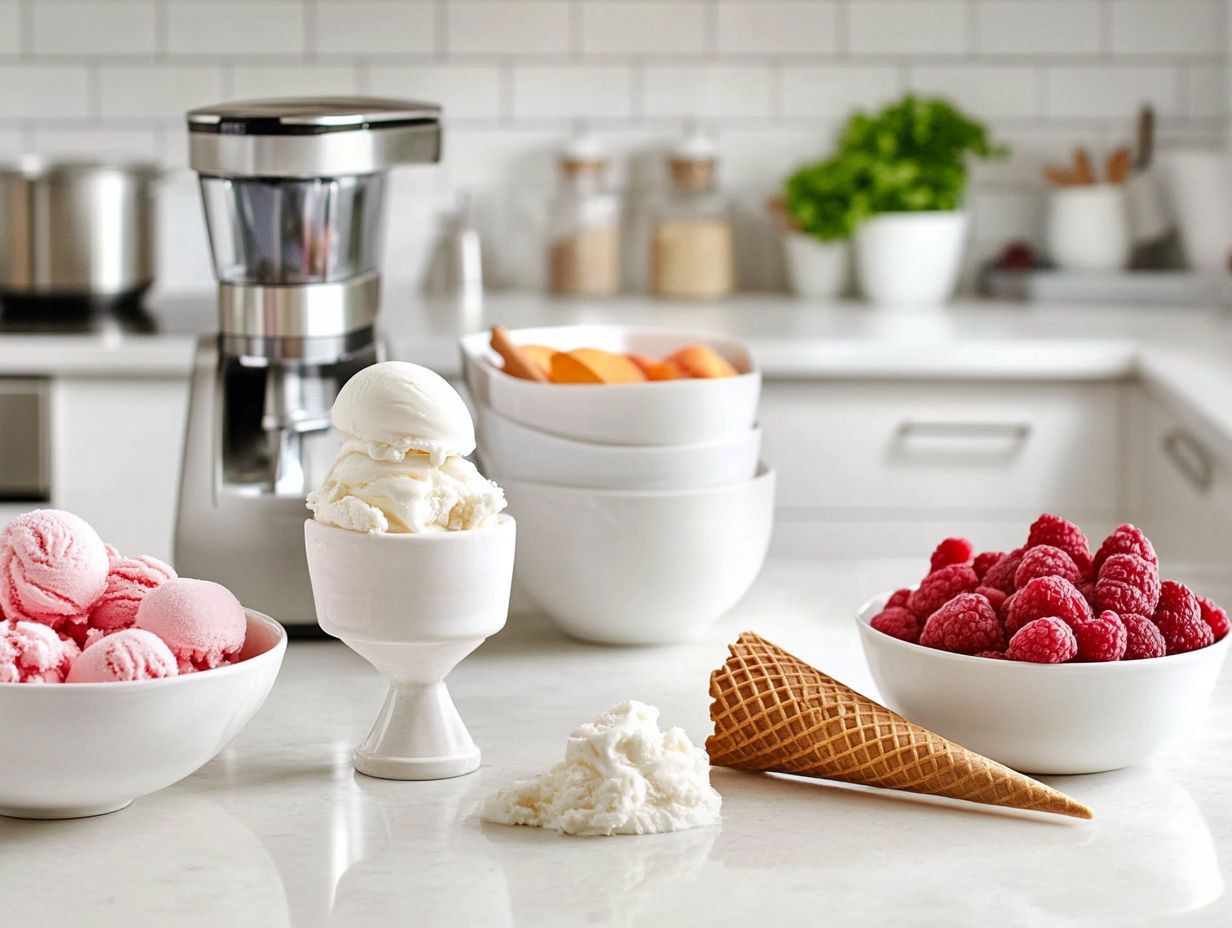
Storing your homemade ice cream properly is vital. Whether you’ve made classic Vanilla or indulgent Caramel, preserving its great taste and texture is essential.
Opting for an airtight container is crucial, as it effectively prevents freezer burn and maintains the creamy consistency of your creation. Keeping your ice cream in the freezer at a consistent temperature is also vital to avoid unnecessary melting and refreezing, which can compromise its texture.
By adhering to these straightforward storage guidelines, you can savor your homemade ice cream for weeks what a treat!
Using an Airtight Container
Using an airtight container is one of the most effective strategies for storing your homemade ice cream. It protects your icy creation from unwanted exposure to air and moisture.
This level of protection is crucial; it prevents freezer burn, which can otherwise compromise both the texture and flavor of your delightful dessert. When your ice cream is properly sealed, it retains its creamy consistency and vibrant flavors, ensuring that every scoop remains as enchanting as the first.
You have a variety of container options at your disposal thick plastic tubs, glass jars with secure lids, or even specialized ice cream containers engineered for optimal storage. For the best results, it’s essential to choose a container that accommodates the volume of ice cream you’re storing and guarantees a tight seal.
To further enhance airtightness, consider pressing plastic wrap directly onto the surface of the ice cream before sealing it. This little trick can significantly minimize air exposure and help preserve your sweet creation.
Keeping it in the Freezer
To preserve the quality of your homemade ice cream, it’s essential to store it in the freezer at a consistently frigid temperature.
Ideally, you should set your freezer to 0 F (-18 C) or even lower, ensuring that the ice cream freezes thoroughly while maintaining that delightful creamy texture. Temperature fluctuations can create pesky ice crystals, which can compromise both the smoothness and overall appeal of your treat.
For optimal storage, position your ice cream in the back of the freezer instead of on the door, where temperatures can vary significantly with each opening. By keeping it in the coldest part of your freezer, you’ll achieve the indulgent results you desire.
Final Thoughts
Making homemade ice cream is a wonderfully fulfilling experience. It invites your creativity and allows personal touches in creating your favorite flavors.
With the right ingredients, equipment, and techniques at your disposal, you can achieve that perfect ice cream texture and taste right in your own kitchen.
The secret starts with selecting high-quality ingredients. They are essential for elevating flavor and enhancing the overall experience.
By employing proper techniques during the mixing and churning process, you can ensure a creamy, smooth consistency that rivals anything you d find in the store.
It s also crucial to understand how to store your homemade ice cream. This knowledge helps maintain its texture and flavor over time.
By embracing these practices, you ll be inspired to dive deeper into the enchanting world of homemade ice cream. Whether you re experimenting with unique flavors or perfecting classic favorites, the sheer joy of creating and sharing those delicious treats is truly unmatched.
Discover more tips on Amazon and Sur la Table for the best ice cream-making tools.
Frequently Asked Questions
What ingredients do I need to make homemade ice cream?
To make homemade ice cream, you will need heavy cream, milk, sugar, salt, vanilla extract, and any additional flavorings or mix-ins of your choice, such as Nutella or caramel.
Is it necessary to use an ice cream maker to make homemade ice cream?
Absolutely! You can make homemade ice cream without an ice cream maker. However, using an ice cream maker will result in a smoother and creamier texture.
Can I make homemade ice cream using alternative sweeteners?
Certainly! You can use alternative sweeteners such as honey, agave, or stevia to make homemade ice cream. Just adjust the amount according to your taste.
How long does it take to make homemade ice cream?
The total time to make homemade ice cream can vary. On average, it takes about 30-40 minutes to prepare the mixture and 2-3 hours to freeze it.
Can I use frozen fruit to make homemade ice cream?
Yes! Using frozen fruits is a great way to make homemade ice cream without the need for additional ice. Just thaw the fruits before blending them into the mixture. Adding some Nutella or crushed Oreo cookies can make your ice cream extra delicious!
How do I store homemade ice cream from my KitchenAid mixer?
You can store homemade ice cream in an airtight container in the freezer for up to 2 weeks. To prevent ice crystals from forming, place a sheet of plastic wrap directly on the surface of the ice cream before sealing the container. If you prefer, you can find high-quality containers on Amazon or Sur la Table.

